Goals
Upon successful completion of this lab, you should be able to:
- Edit Python programs in our primary development environment and a web-based development environment
- Read, write, and edit simple Python programs that use input statements, variables and output statements
Introduction
This is out first lab. How do labs work? Generally:
- You will open the Lab Instructions (on this website) and the Lab Write-up (on Moodle) in two different browser tabs.
- You will do the instructions from top to bottom. At certain points in each lab, you will be prompted to do questions in the write-up. Also, at certain points in each lab, you will be prompted to demo something for some credit.
- When you get to the demo, if it is not already clear how to submit and get demos recorded, then just call an instructor or student assistant over and ask about the process.
- Each lab, to get full credit, you will complete three components: (1) demos that are recorded by staff, (2) the write-up on Moodle, and (3) submit code on Moodle for grading.
- All components of the lab (write-up, demos, code) are due by the following Tuesday at 2PM.
Note: If you brought your own computer, go to the Programming Tools page and follow the instructions to install the course software before continuing with the lab. The course staff is happy to help with this too.
For this first lab, you will be doing the following:
- Review our course syllabus, including the deadlines and policies.
- On Moodle, find and click on "Lab 1 write-up"
- Answer Questions 1–3 in that writeup
- Now do Parts A–C, below
Part A
In this part of the lab, you will type print statements into an online Python tutor to see how they work.
Instructions
- Go to your browser tab with the Lab 1 writeup in Moodle, and answer Question 4 (and ONLY
Question 4). Vocabulary is not the main point of this class, but it's important to have a
common language to talk about these new concepts.
Feel free to ask the instructor for help or search the internet -- whatever it takes to help you understand what all of these words mean.
Click the "Check" button to check your answers until you get full credit for the question. - There is an online Python 3 tutor that
allows you to watch a program execute step by step. Open that website in a new tab and enter the following Python code in the box labeled
"Write your Python code here:"
print('Hello!')
print('Hi!')
Then click "Visualize execution." - You should now see your code at the top left of the window. A red arrow points to the next instruction that will be executed.
Try clicking the "Forward" button once. Verify that you can see the following:
- The output of the first statement will be displayed in the window just below your program.
- The red arrow has moved on to the next statement to be executed.
- A faint green arrow points to the statement that you just executed.
- Each time you click "Forward", the next statement will be executed and the output will be updated. Try it!
- Click the "Edit code" link just below your program, and replace your old code with the following code:
print('Hello!', 'Hi!')Visualize this program. - Try to answer Question 5 in your Moodle writeup without using the visualizer. If you get stuck, you can use the visualizer to see exactly what each statement will print. Click the "Check" button to check your answers.
- Answer Question 6 in your writeup. Almost all of your writeups will have a question like this.
There are two reasons why:
- Writing about technical topics is an important skill, and it helps solidify your understanding of the material.
- Your explanations help the course staff catch minor misunderstandings that you may have -- before they cause you serious problems.
Part B
In this part of the lab, you will use PyCharm (http://www.jetbrains.com/pycharm/) to write and run a Python program. The screenshots on this page were taken on a Mac. For now, that is the operating system that you should run in our labs.
Instructions
- Find the PyCharm icon on the menu-bar, as displayed below, and double-click on it to launch PyCharm.
- The following screen will pop up. The first time around, it may take a bit longer for it to
launch.

- Select Create New Project. A new window will
appear as shown below.
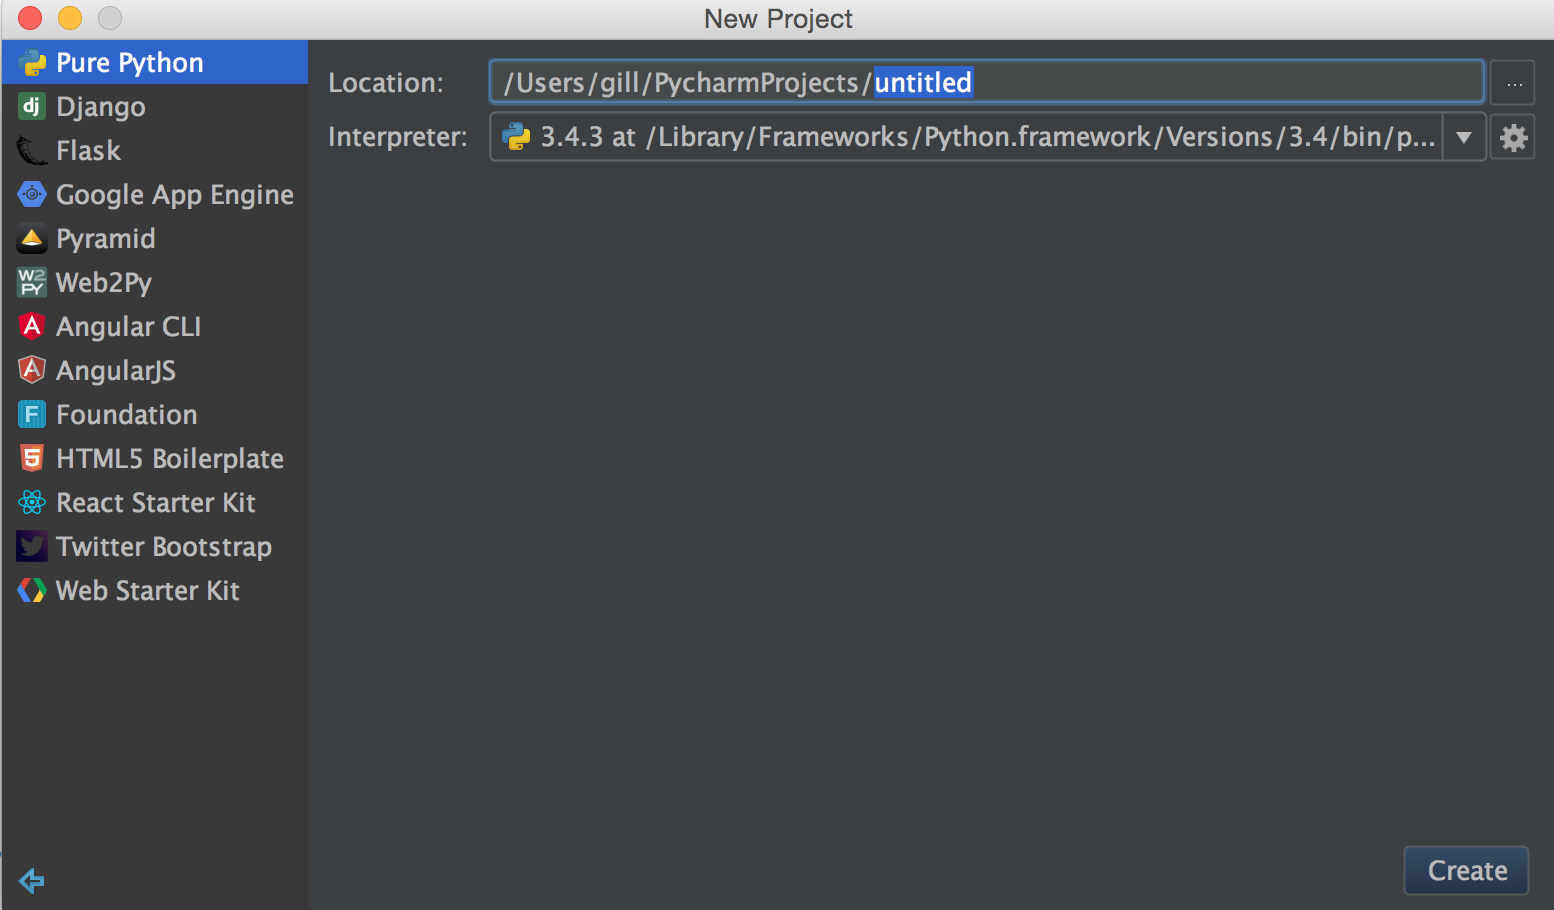
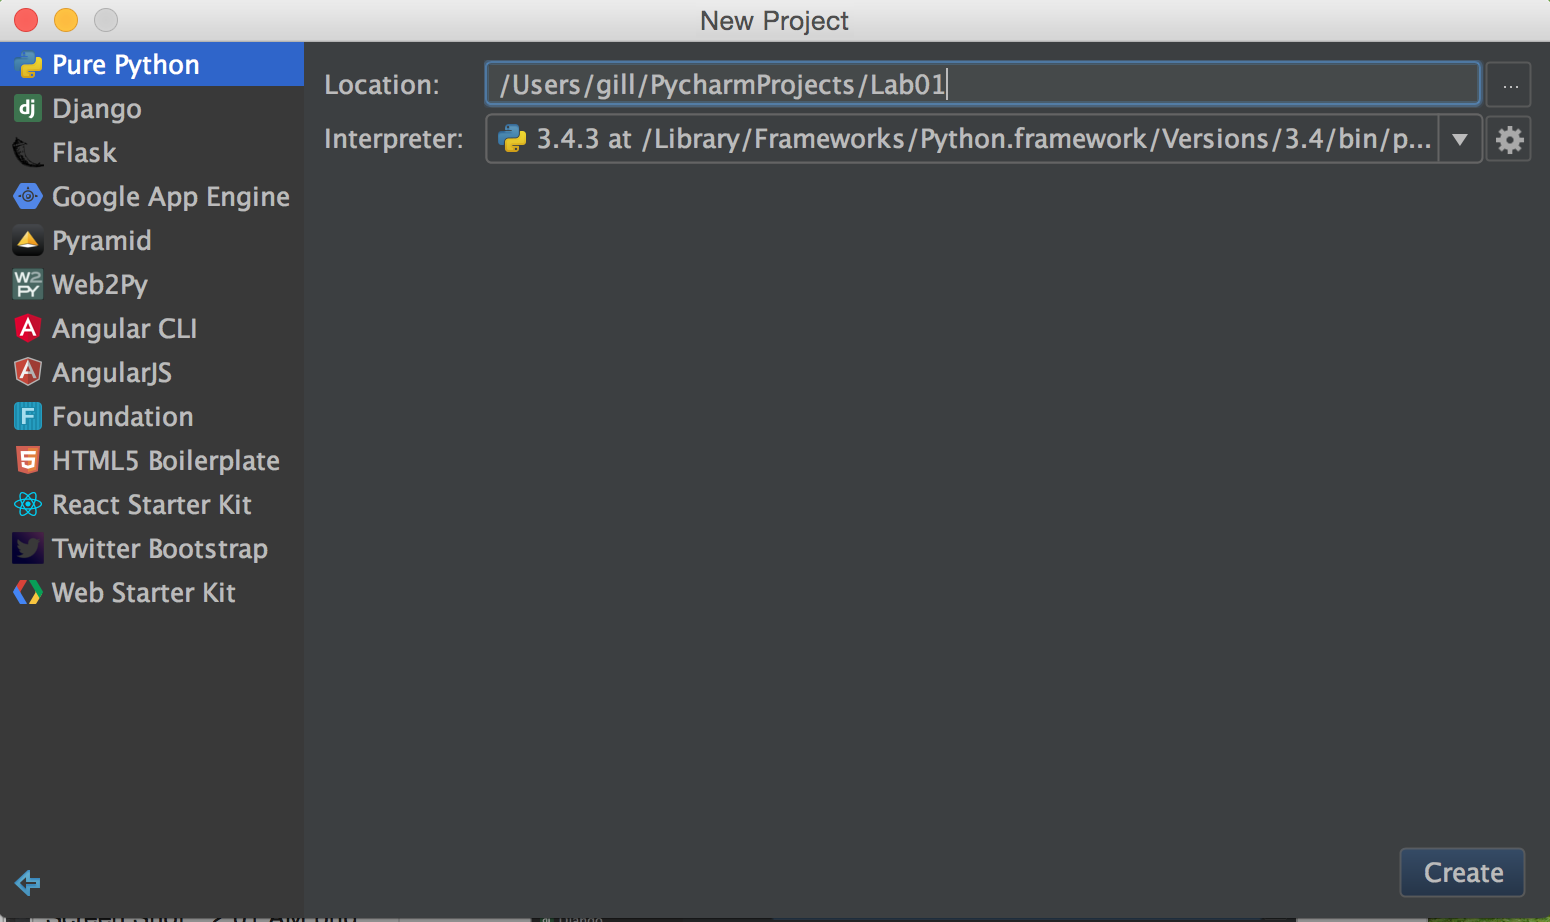
- You create a new project for every lab for this course. So, let's call the project for this lab, Lab01. Click Create button on bottom right of this window.
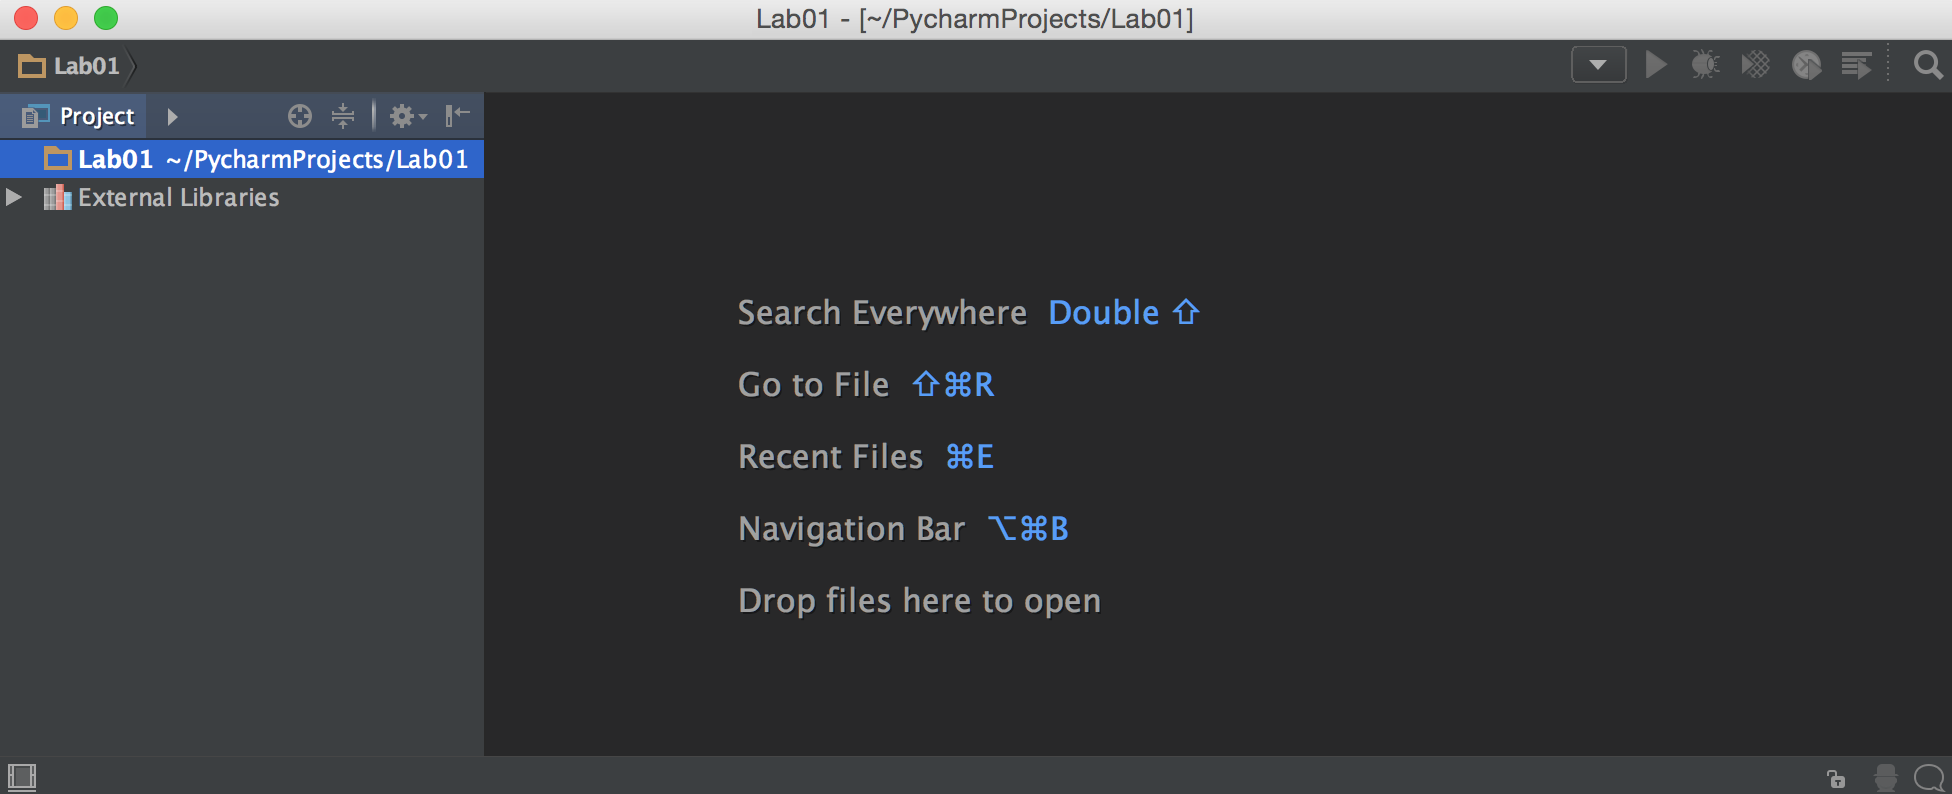
- When you create a project, PyCharm creates a folder (directory) for you so that you can store all files that are related to that project in that folder. Double-click on Lab01 (top-left) to see the following image.
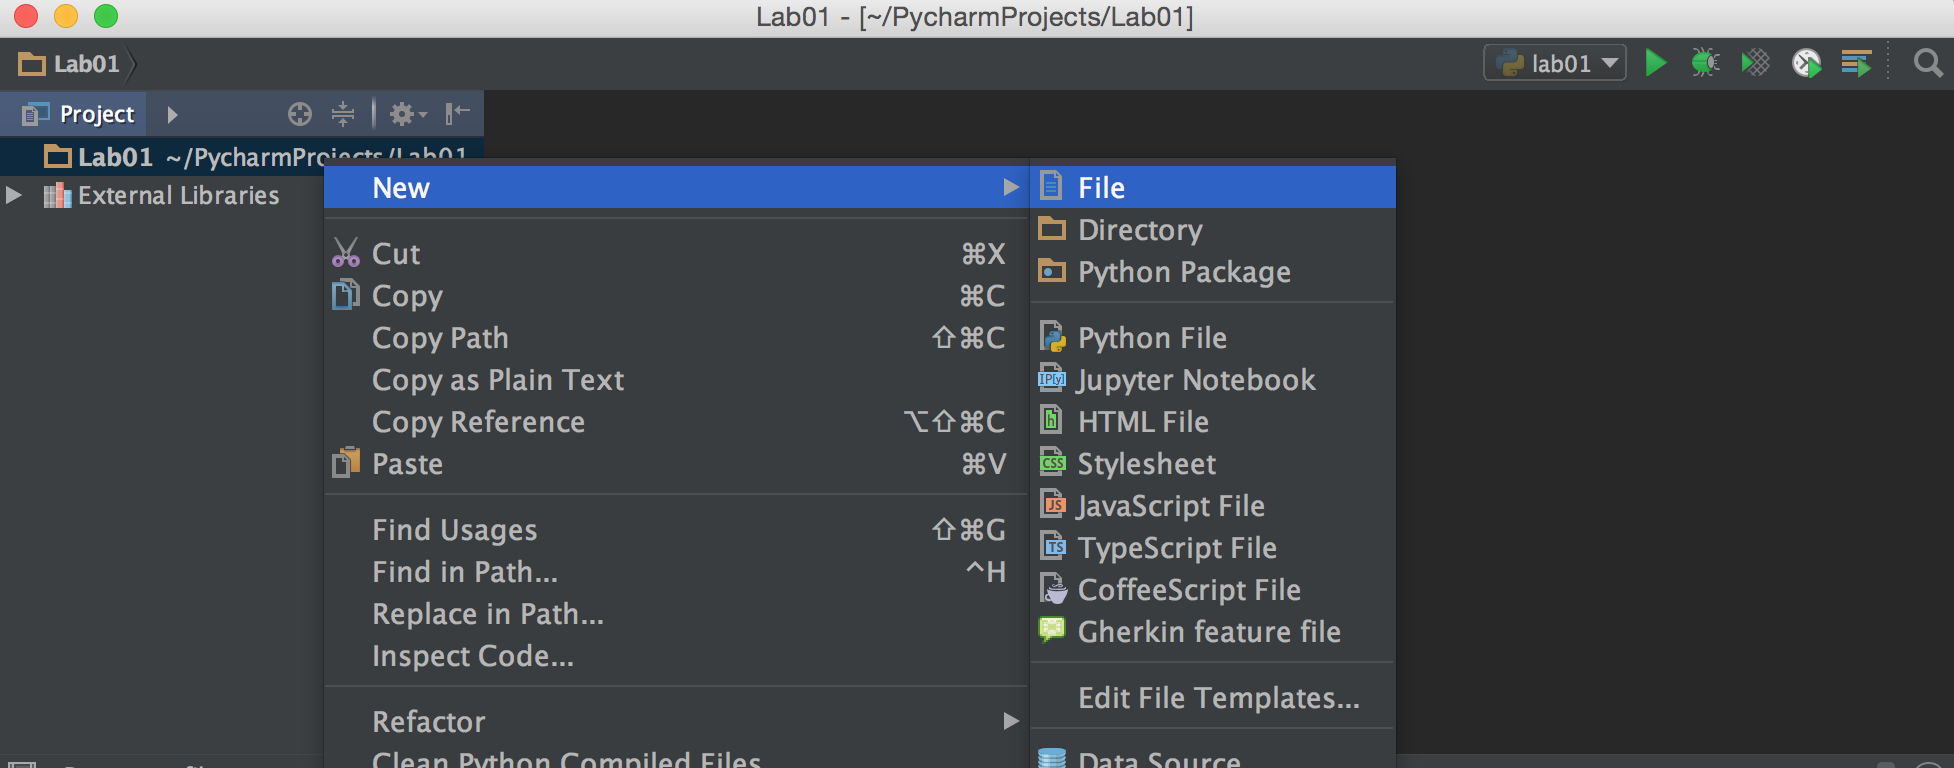
- Right-click the mouse in the highlighted project-name and then slide the mouse and place it
on New menu-item and then file.
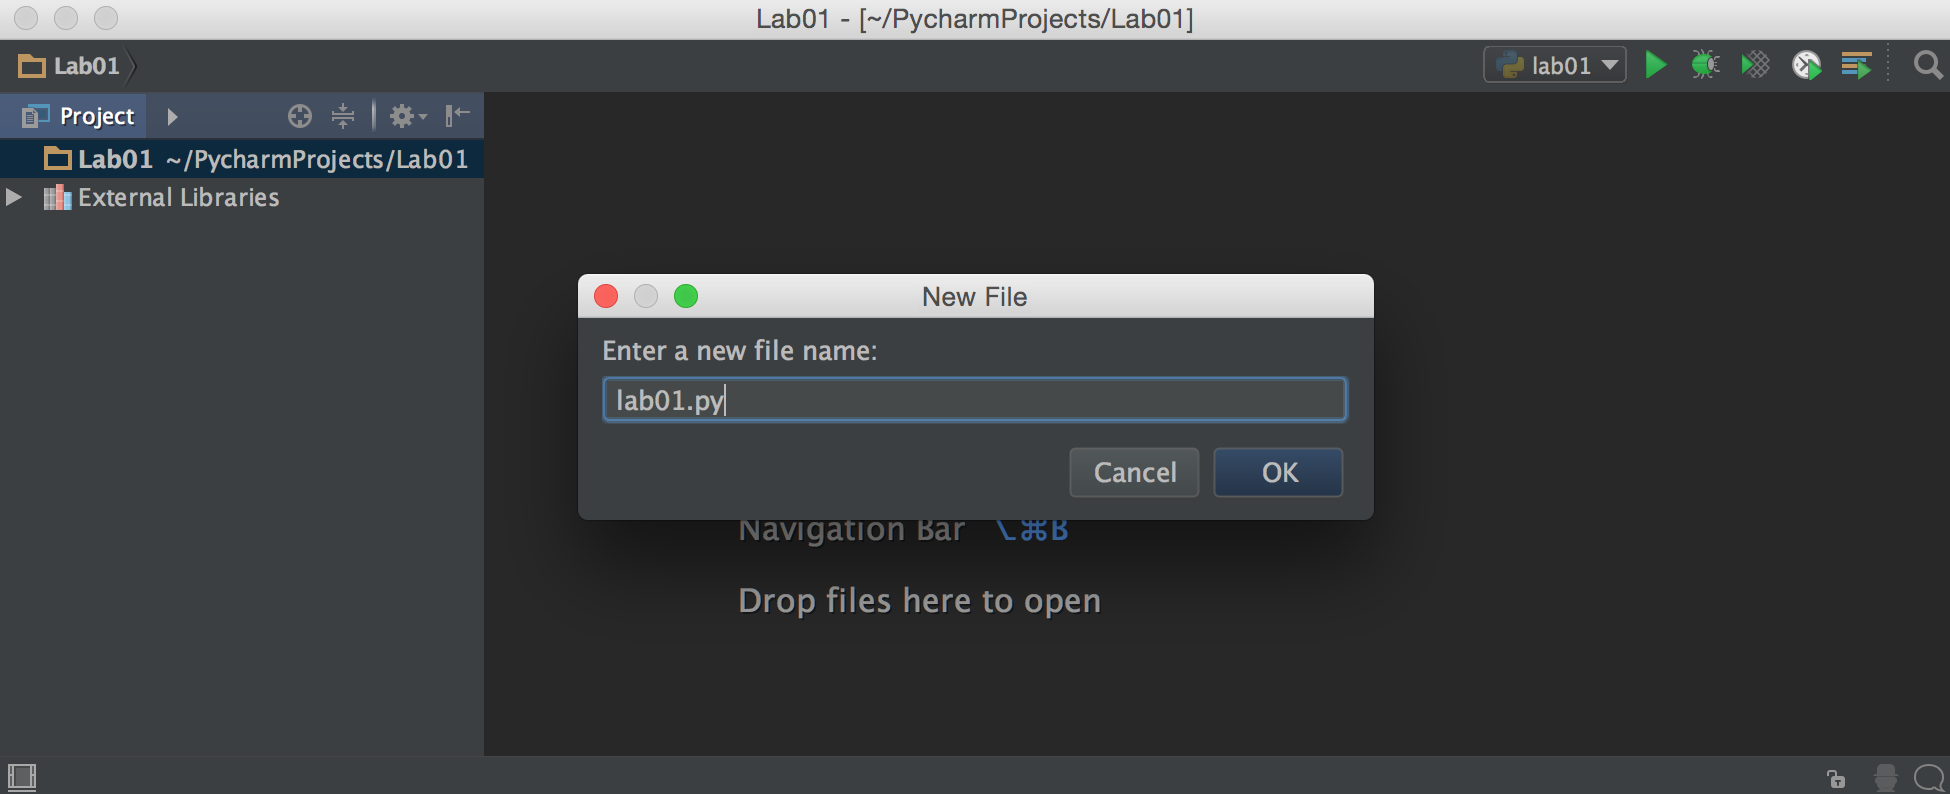
- Now, type the name of the Python program for this lab, lab01.py and click
on OK
- Now, PyCharm is ready for you to enter code in the file that you just created.
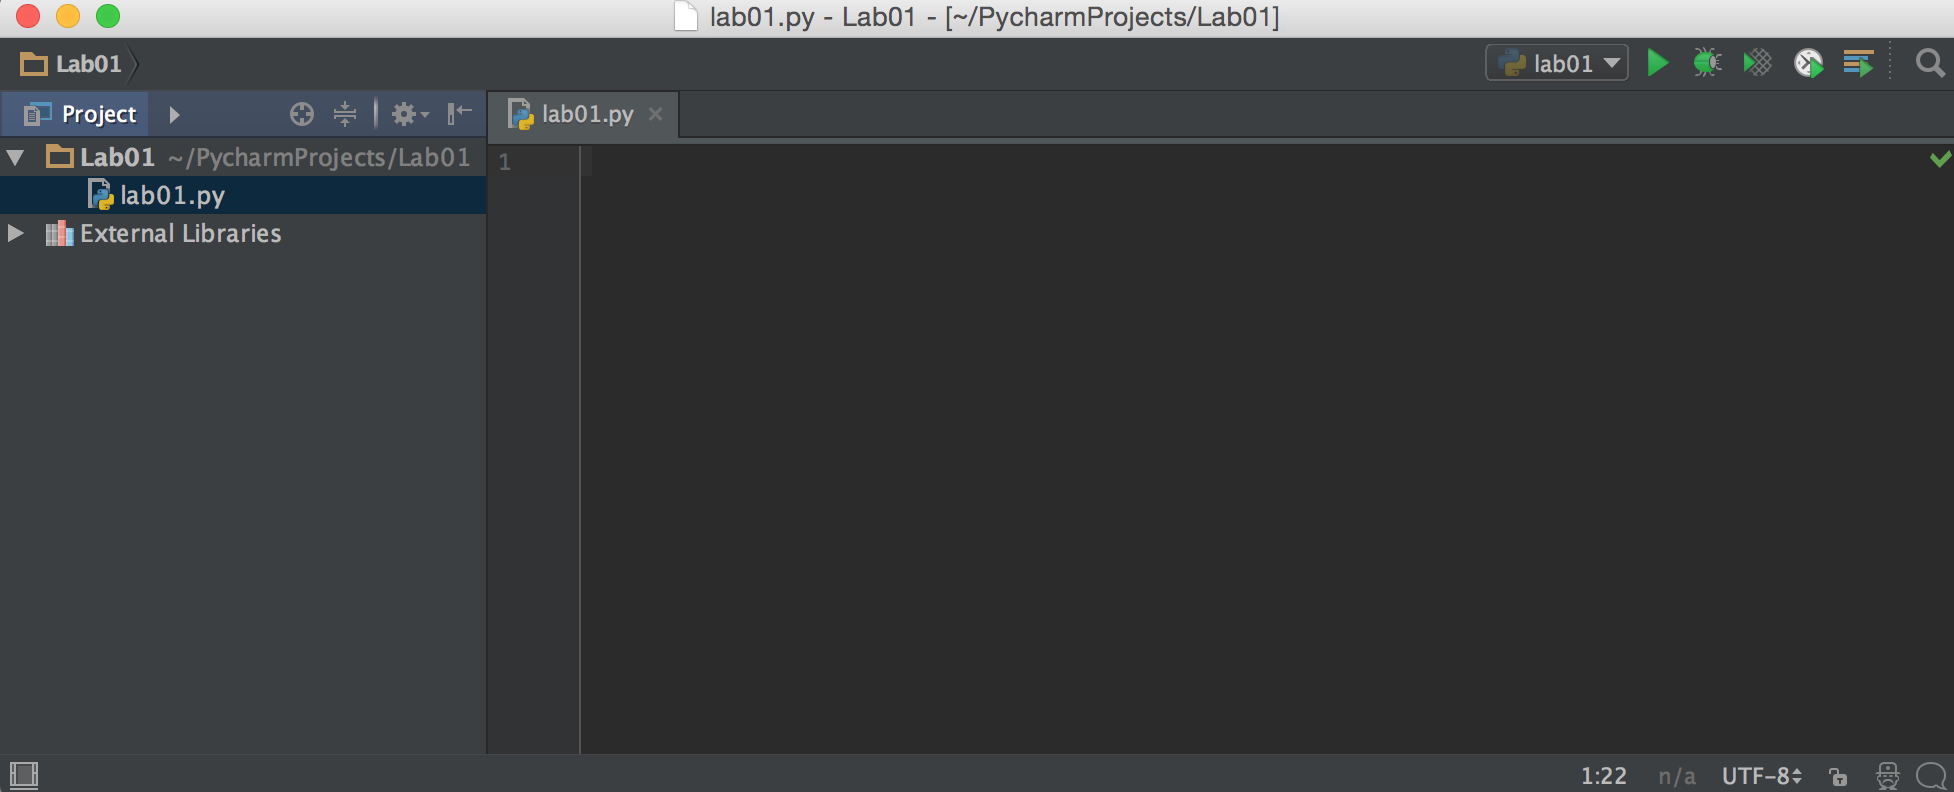
- Copy and paste the following code-segment into the empty panel.
"""
Lab 1: This program prompts for your name and then greets you by name.
Author: ____________
"""


def main():
    name = input('What is your name? ')
    print('Hi there, ', name)


main()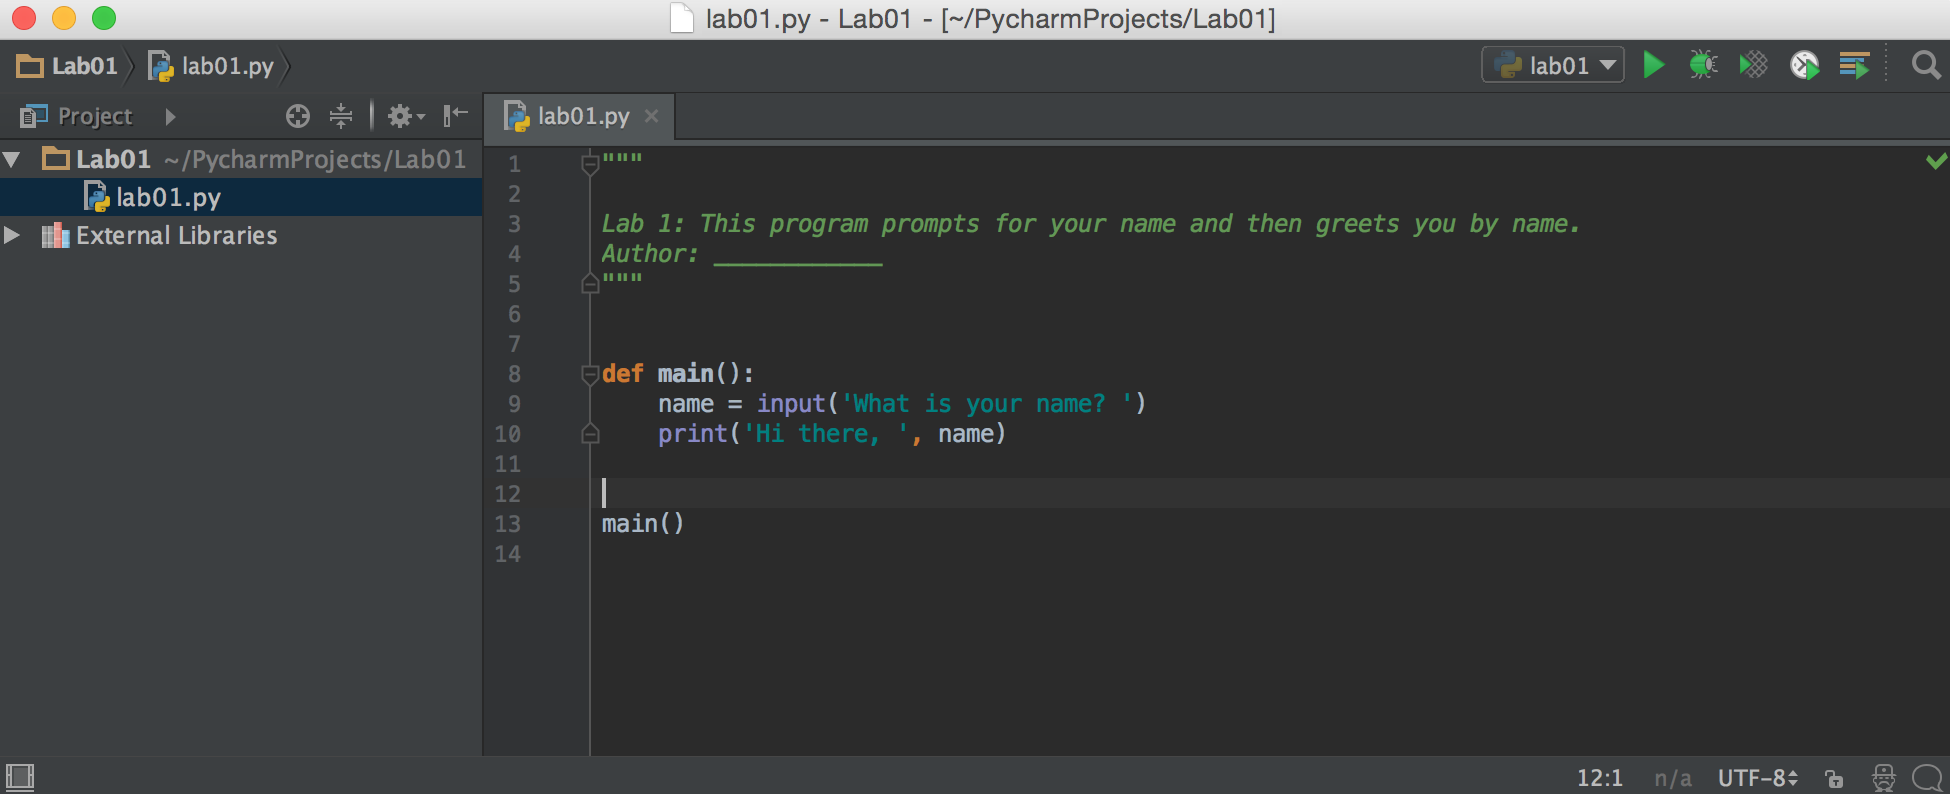
- Modify the docstring at the top of the program to add yourself as the author of the program.
- Go to the Run menu (on the top of the screen), then select Run. A sub-window opens up:
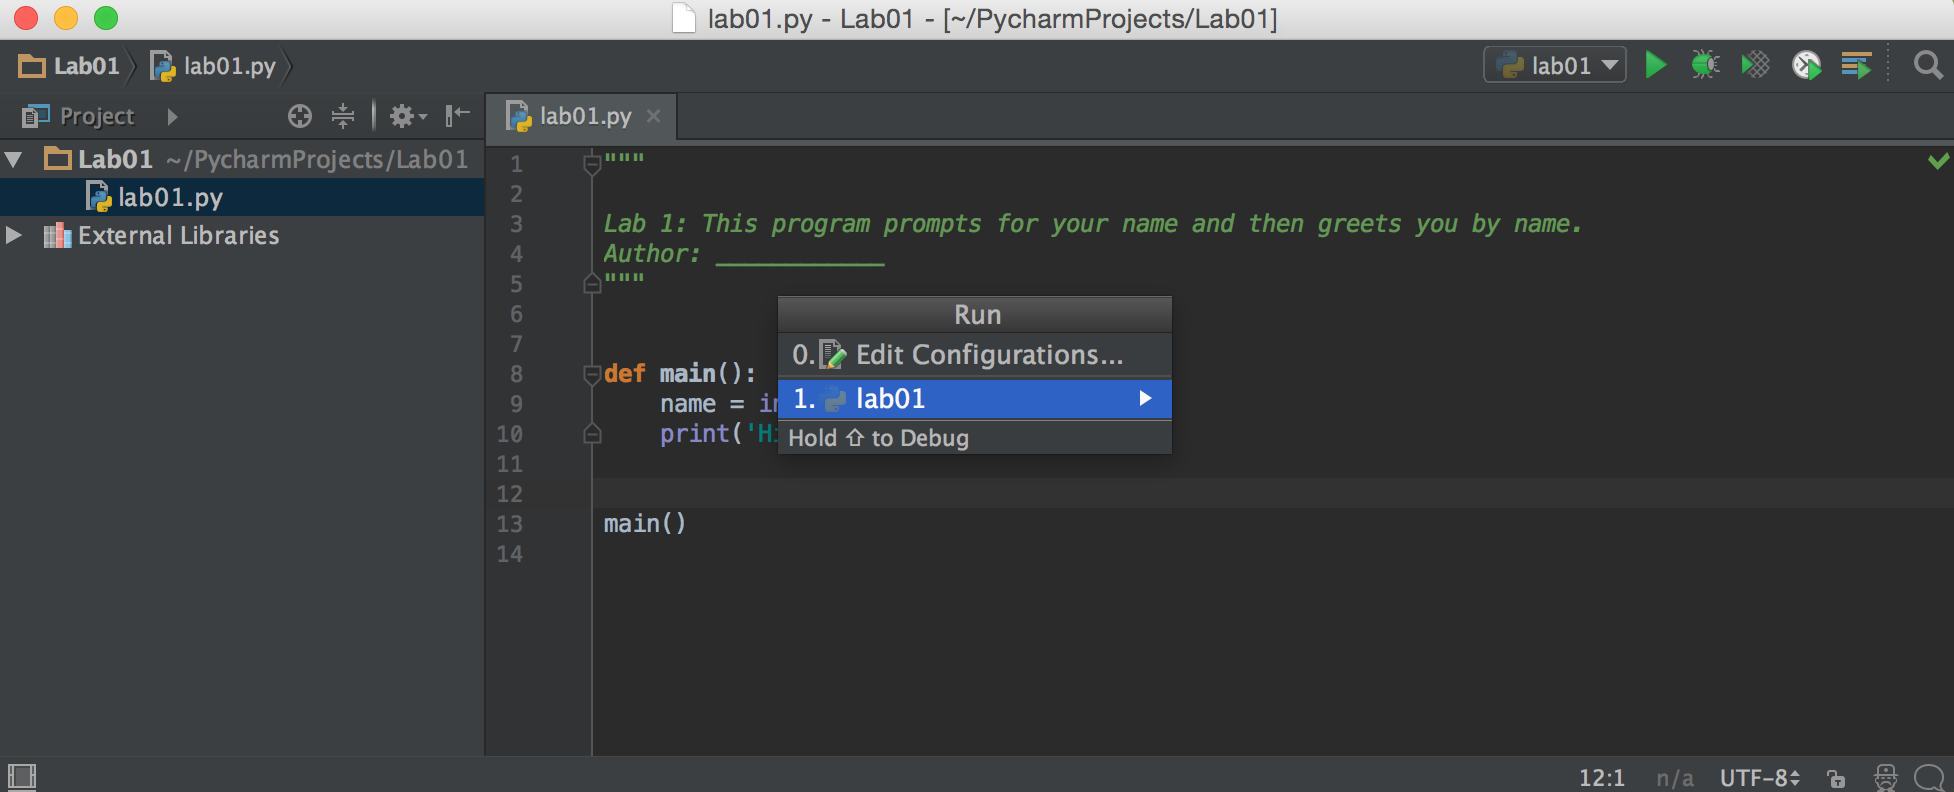
- Click on lab01 to run the program.
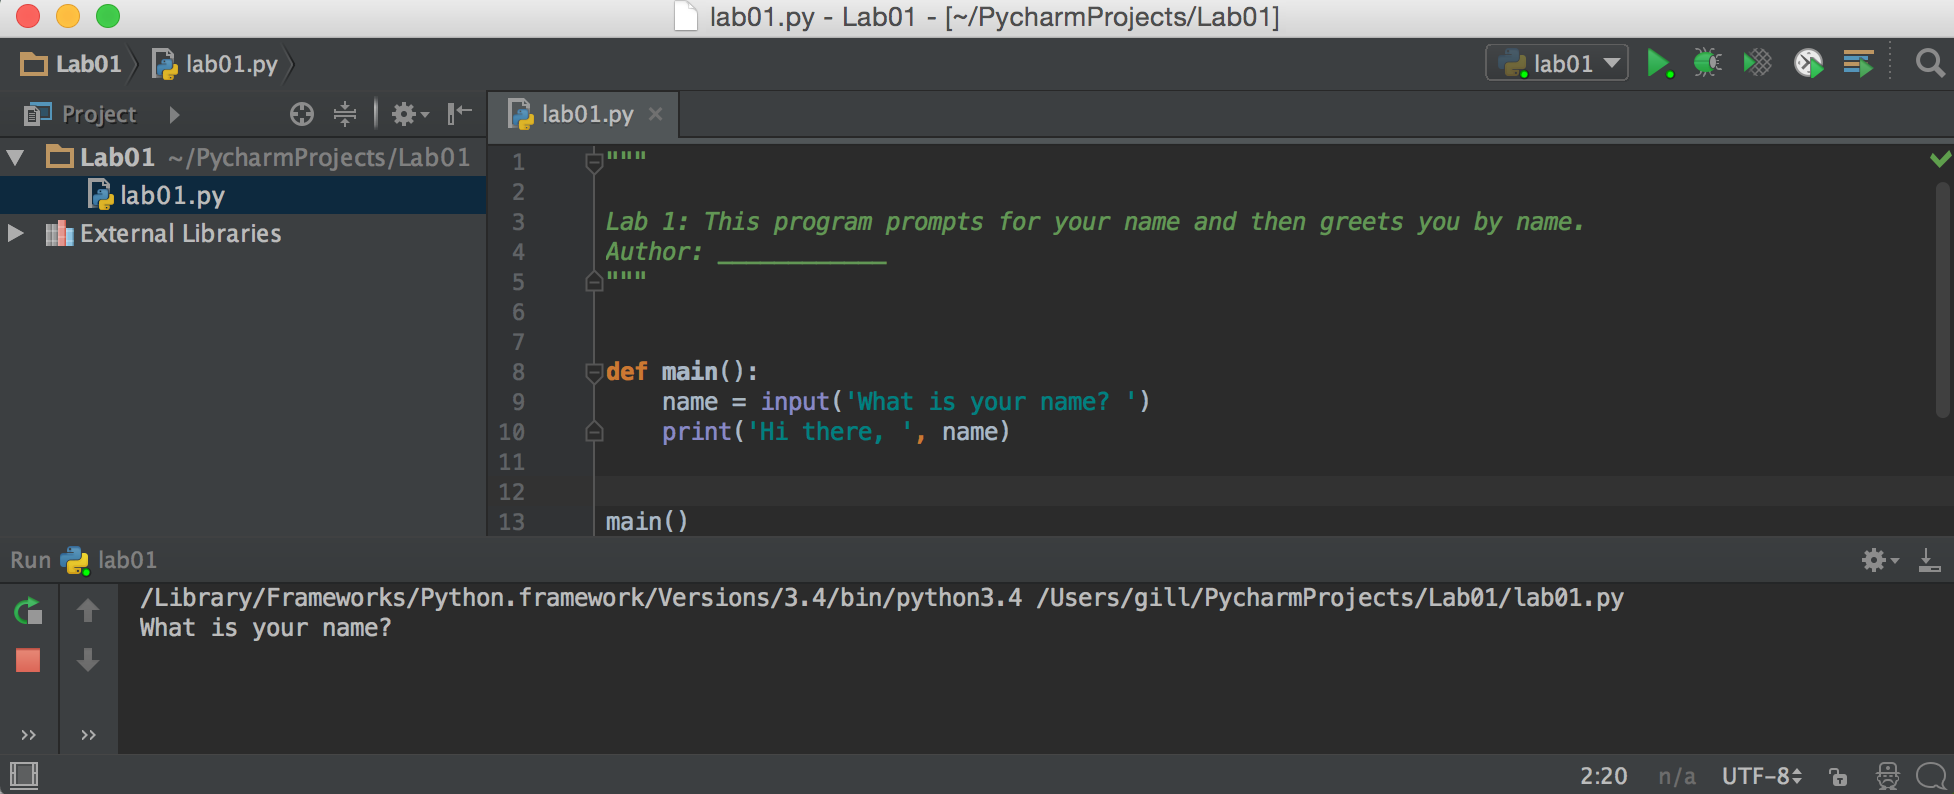
- Notice that the code-window splits and in the bottom window, the prompt appears. Put the mouse
in the bottom window and type your name
at the prompt and hit the return key.
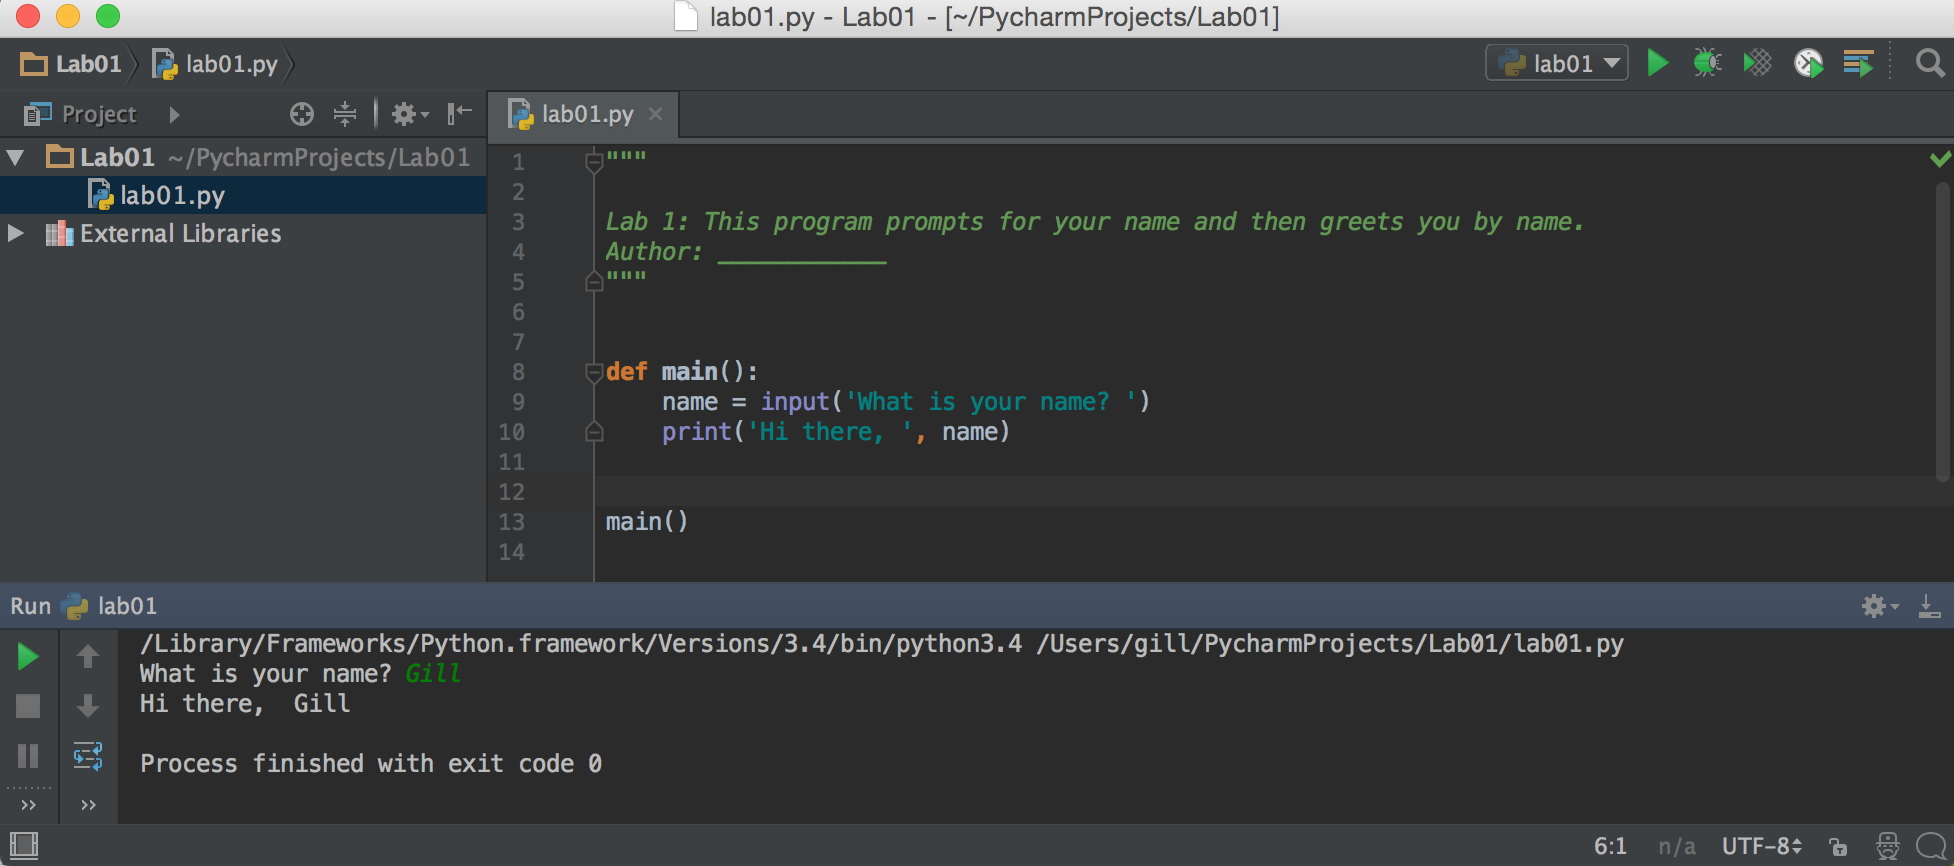
- To run it again, click on the green arrow on the top-right corner of the code-window.
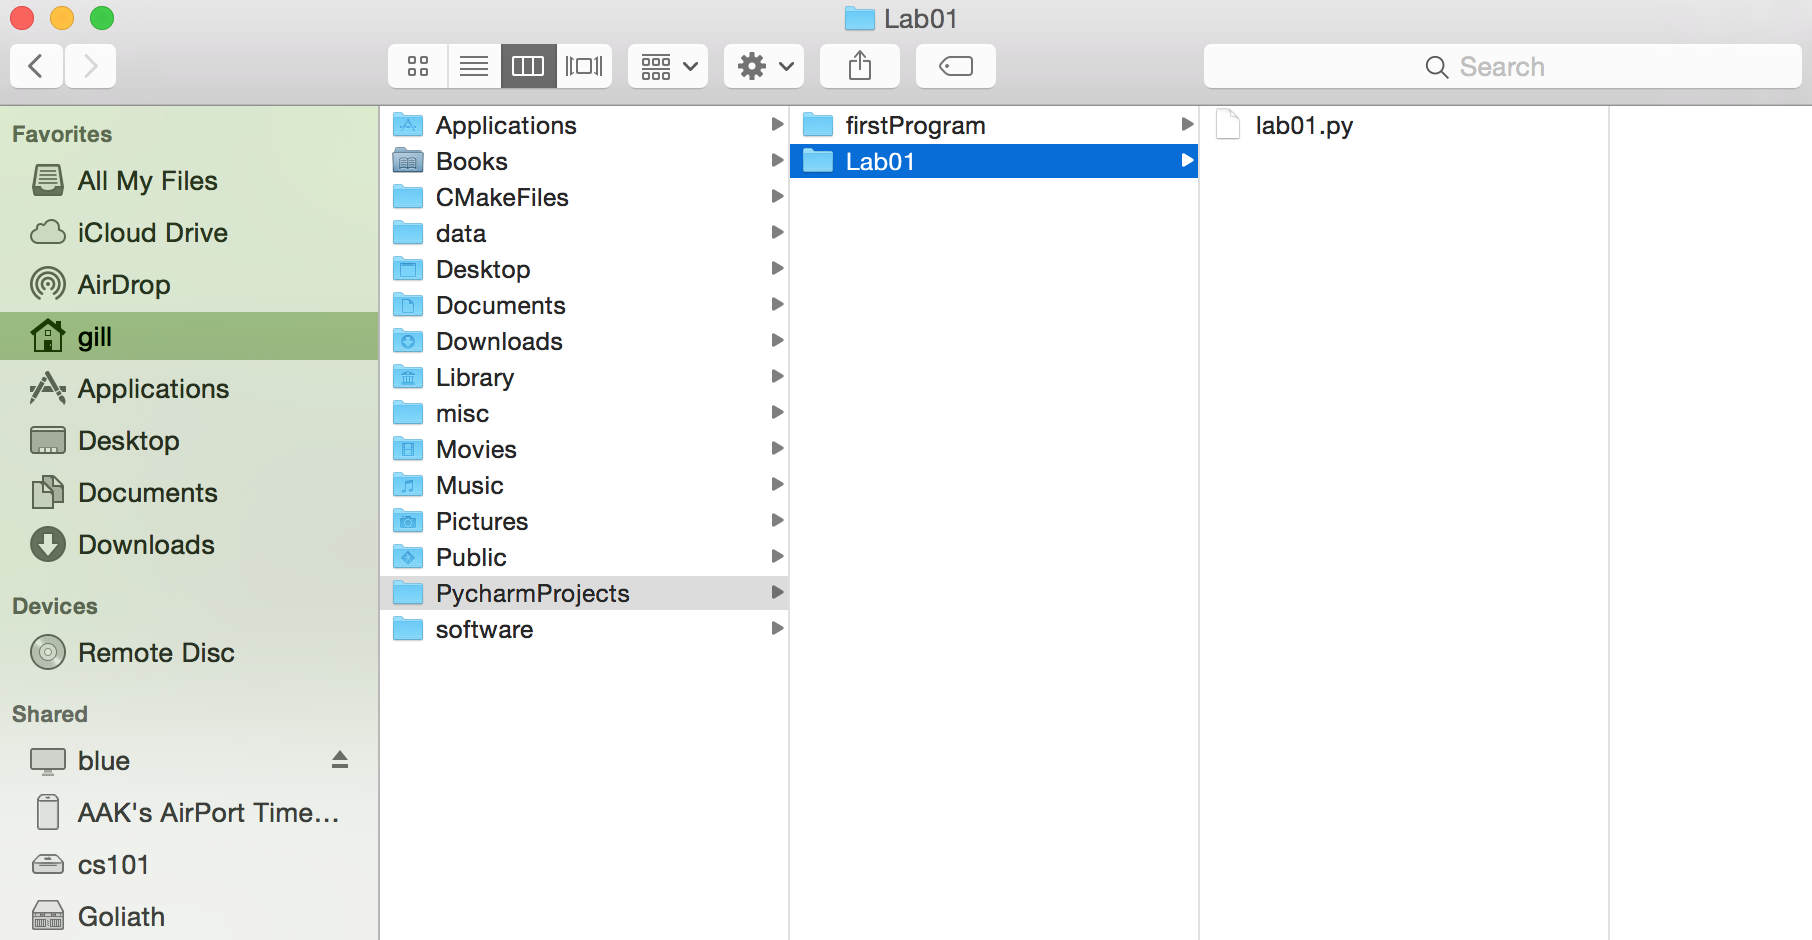
The program that you just created is stored in cs115user/PycharmProjects/Lab01/lab01.py as depicted below.
Caution: In the CS lab, if you restart your machine, the Lab01 folder and lab01.py file will be deleted. You always need to preserve your work before you log-out and leave.
Advice: You have a few options to preserve your work. See Programming Tools for ideas: you can bring a flash drive, e-mail it to yourself, etc. One option is to use the CS Department's server, called blue. Directions for using blue are also outlined on the Programming Tools page.
Part C
Instructions
- In PyCharm, modify your program so that it looks like this. Make sure your name is in the docstring.
""" Lab 1: This program prompts for your name and then greets you by name. Author: ____________ """ def main(): name = input('What is your name? ') print('Hi there, ', name, '.', sep="") main() - Run your program again. What does
sepdo? - Modify the program so that it asks you for your favorite movie
and then tells you that your taste is terrible.
Here is an example of what your program should do. In this example,
the user's input is
underlined and italicized,
and the rest of the text should be printed by your program:
What is your favorite movie? Transformers
Ugh, Transformers is a terrible movie.
- Here is another example. In this example, the user's input is Mission Impossible.
What is your favorite movie? Mission Impossible
Ugh, Mission Impossible is a terrible movie.
- Change the first line of the docstring so that it accurately describes what the program does now.
- Demo. When your program's behavior matches the sample outputs exactly, flag down the instructor or student assistant to demo your program. This demo is part of your lab grade, so don't skip it! You can redo the demo as many times as necessary until you get it perfect.
- Once you have done the demo and are happy with your program, answer Question 7 in Moodle.
- Continue to the next part.
Assignment Submission
Instructions
- Answer Question 8 in your Moodle writeup. Review your answers, and then click the "Next" button at the bottom of the quiz. Once you do that, you should see something similar to this (note, number of questions may be different in your writeup; just make sure all questions have been answered):
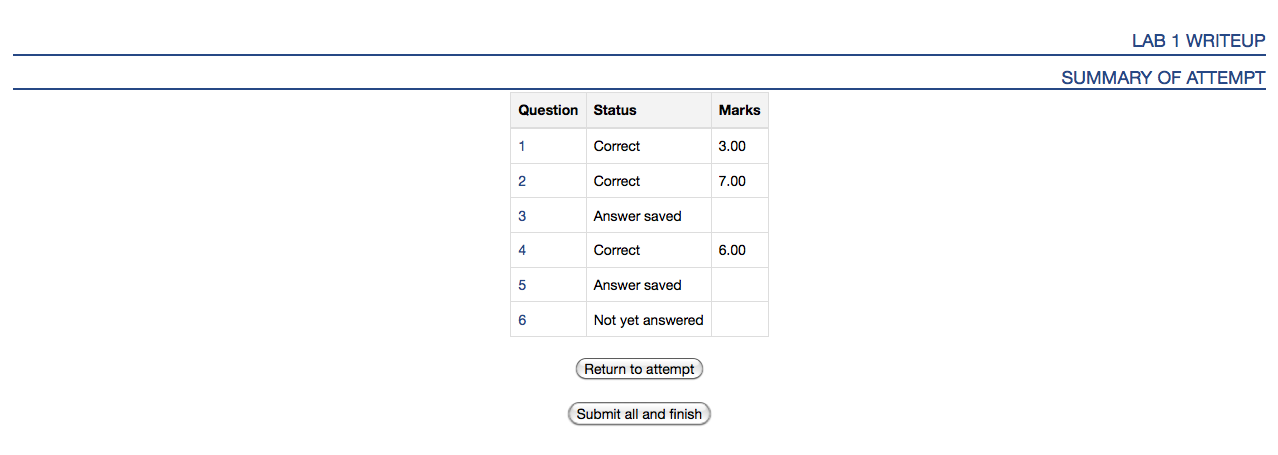
Click the "Submit all and finish" button. Warning: You must hit "Submit all and finish" so that your writeup can be graded! It is not submitted until you do this. Once you have submitted your quiz, you should see should see a dialog box similar to one shown below. The important part is that the "State" is recorded as Finished.
Please leave this window up as a tab in your browser.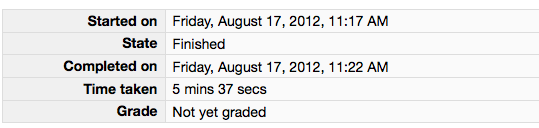
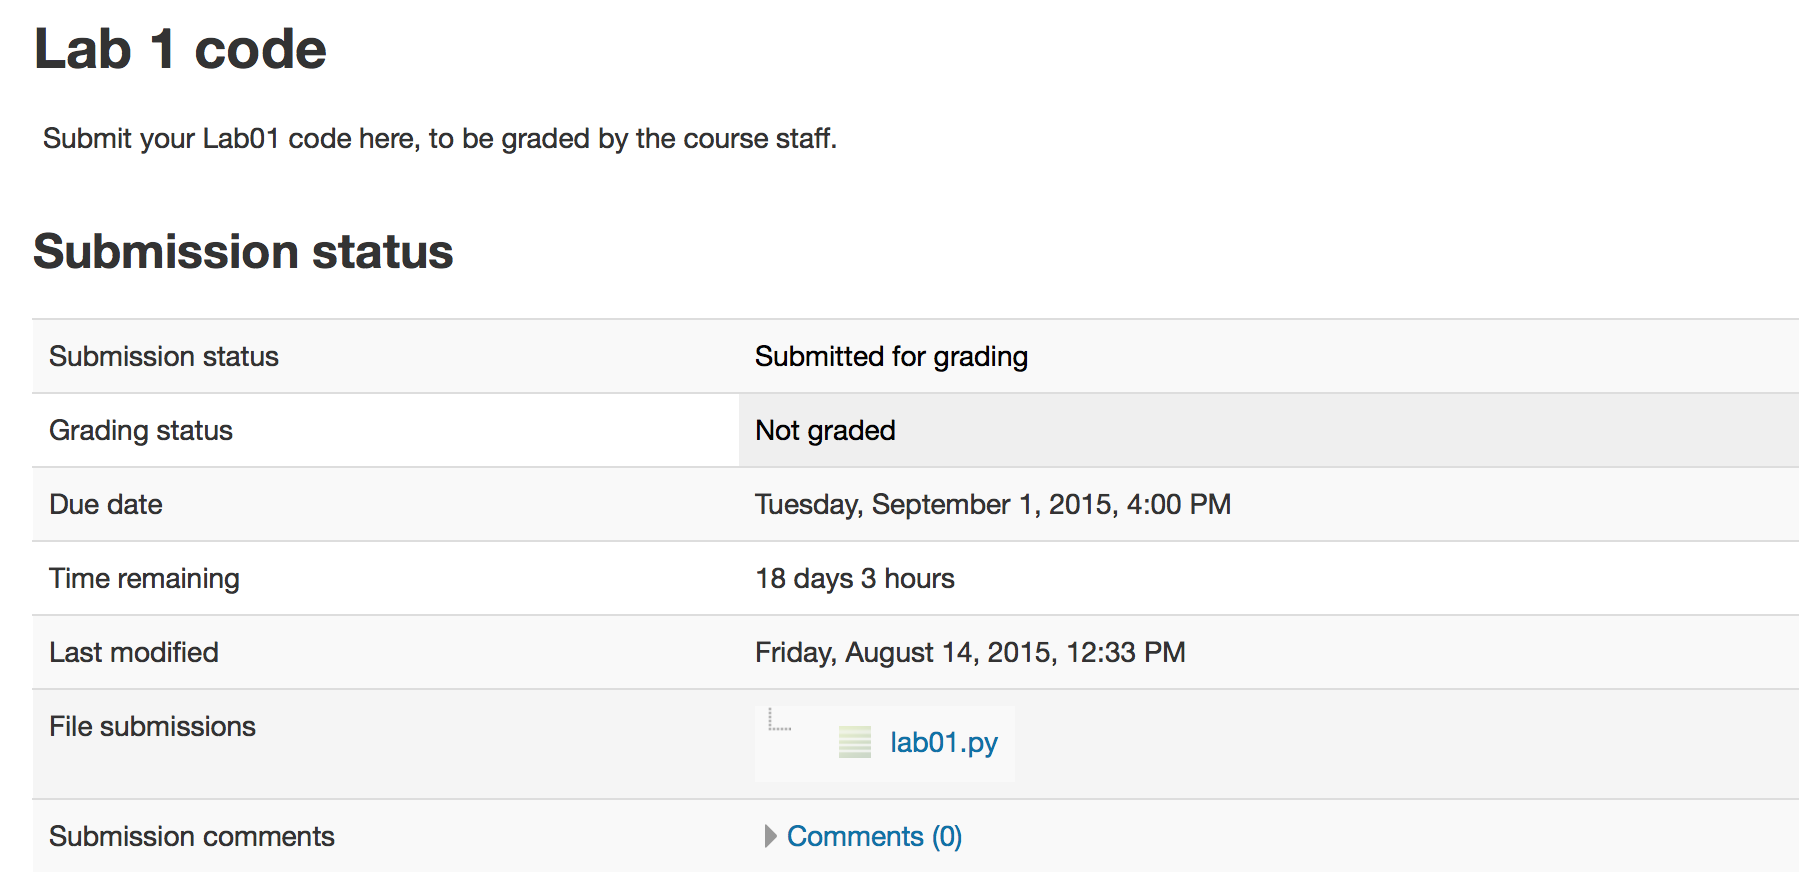
- Click on the "Lab 1 code" link in Moodle. Follow the instructions to upload your source code (lab01.py) for Lab01. You should see a dialog box similar to one shown below. Keep this open.
Warning: Ultimately, it is your responsibility to ensure you have submitted all the parts of the lab correctly. You might want to double-check everything is submitted, and also backed up.
Optional: For your peace of mind, you can call over the instructor or a student assistant and have them verify your confirmation screens and let you know if it looks like you submitted all the parts of the lab and that your demo got recorded. We are happy to be a second set of eyes for you.
If you are confident that everything is completed, you may close your tabs, log out of your machine and leave lab.