Lab 7: Programming Lab 3: More Web Page Creation
Important Note: If you can
use the Chrome web browser to complete this lab you will find
the task easier since it is used in these directions.
There are 4 parts to this lab:
Part 1: Learn Group Work Skills
Part 2: Web Page Creation
Part 3: Extra Credit: Feel Like A Programmer Web
Page Creation
Part 4: Save Web Page, Download Grade Sheet, Copy
Web Page Information Into Grade Sheet, Fill Out Grade Sheet, and
Upload Grade Sheet
Lab Directions:
Part 1: Learn Group Work Skills.
Your instructor will go over the important group work skills you
will be using in today's lab.
Group skills discussion
Part 2: Web Page Creation.
Your instructor will now explain the group HTML project and break
the class into groups to complete the project.
In today's lab we are going to learn how to make a web page that
contains multimedia elements.
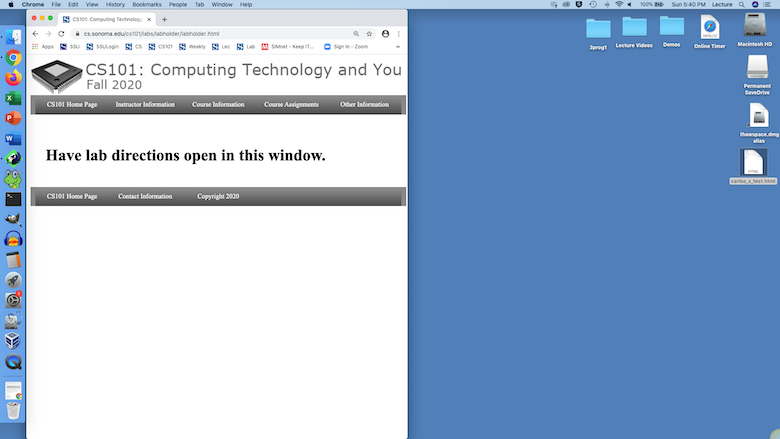
You can close any other browser windows/tabs and just have the
direction open as shown below:
Right click the following link and select Open Link In
New Window as shown below:
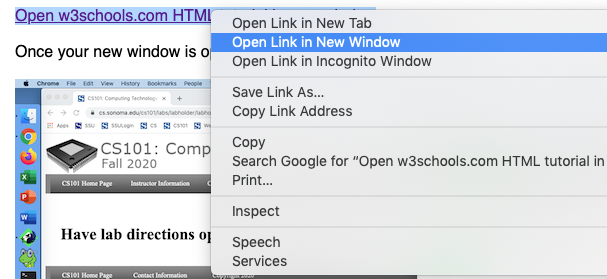
Use this link to open the new window:
Open
w3schools.com HTML tutorial in new window
Once your new window is open your screen should look like this:

Read the HTML Introduction web page to remind yourself the basics
of HTML. When you have read the web page we just opened return to
these instructions.
We are now going to open a new web browser window that will
contain an area where you can code a web page using the HTML
language and see the results displayed in the web browser. Click
on the Try It Yourself button near the top of
the web page you just read as shown below:

Once you click link your web page should look similar to this:
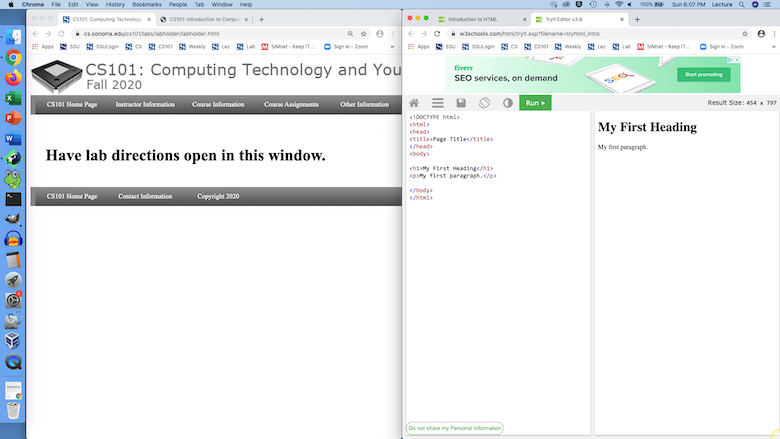
On the left side of the new window we have the very basic code for
a web page. This is HTML, Hyper Text Markup Language, the
language of web pages. When you request a web page to be viewed
your web browser is sent an HTML file and your web browser reads
the file and displays the results as the web page you requested.
As you can see below the left side of the window displays the code
for the web page:
The right side of the window shows how the code would be
interpreted by a web browser and displayed.
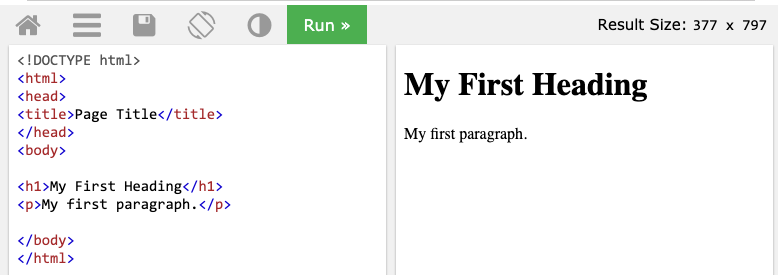
We will now edit the HTML code and ask the tutorial to display the
results. In the HTML code on the left side of the page where the
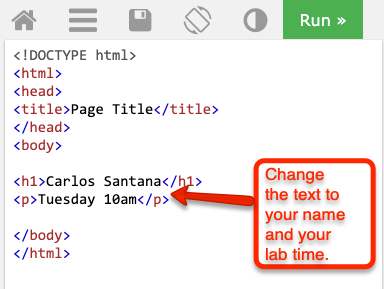
text My First Heading is change to your full
name and in the HTML code where the text My first
paragraph is change to your lab day and time as shown
below:
Now click the  button to see the web page change from this:
To something similar to this:
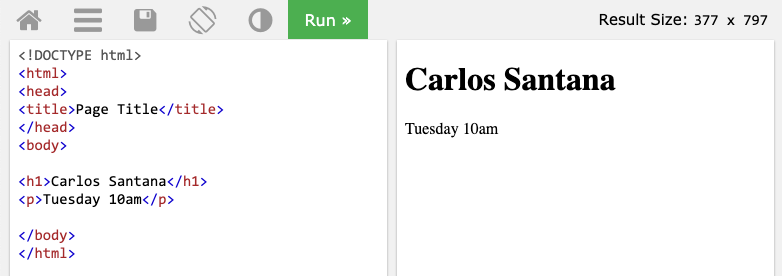
Congratulations! You just created some code for a web page.
How do we add to the web page?
We add to our HTML code and click the
button to see the changes.
How do we add more text?
Anything that goes between the opening <body> tag and the
close </body> tag will show up on the main area of the web
page.
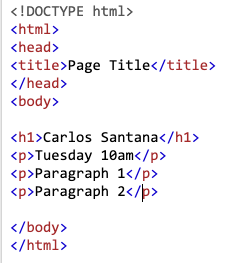
Type the following text into your HTML code:

Click the
button. Notice how even though we put our text on two different
lines in your HTML code the text all runs together in the web
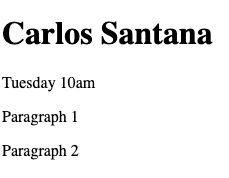
browser as shown below:

That is because the web browser ignores formatting in the text
editor and only responses to HTML tags.
How do we format the text on our web page?
To separate our paragraphs we will need to use a paragraph tag.
Edit your HTML document to look like the one below:
Click the Run button to see the effects of the
paragraph tags as shown below:
The paragraph tag puts a blank line before and after the text it
surrounds.
How do we make text bigger?
Heading tags are one way to make text bigger. Add the following
header tags and text to your HTML document:
Click the Run button to see the effects of a
heading tags as shown below:
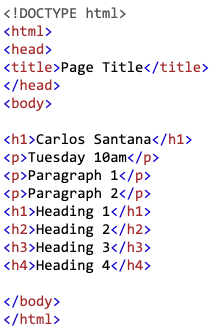
Notice how the heading tags change the size of the text, make it
bold, and place a blank line in front and after the text they
enclose. That is why your name is big and bold due to the heading
1 tags around it.
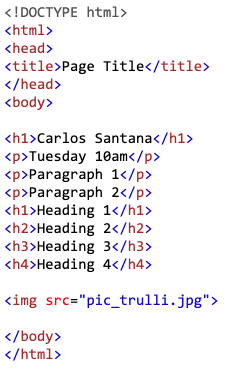
How do I add and image to my web page?
To load the image onto your web page you DO NOT place the image in
your HTML document. Instead, you put in a HTML tag to tell the
web browser to go download the image file and place it on the web
page at the spot your placed the tag.
We will now add the image tag to our HTML document. Add the
following tag to the body of your HTML document:
Click the Run button. Your web page should now
display the image as shown below:

You just placed in image source tag in your HTML document. This is
how it works. The img src part of the tag tells
the browser it must go find an image file and download it. The pic_trulli.jpg
tells the web browser which file to go get and download. The web
HTML tutorial web site we are using goes and downloads the file
from its web server. This is a relative link. Relative to your
HTML document the image file is in the same folder on the web
tutorials web server.
Unfortunately, as i demoed at the beginning of class, one of the
limitations of the HTML Tutorial coding area is that we cannot
place our own image files on the HTML server so we can only use
the image links they provide.
How do I link to another web page?
You link to other web pages by placing a hyperlink into your HTML
document.
So far you have been making a stand-alone web page, but what makes
the Internet so special is that it all linked together.
The “H” and “T” in “HTML” stand for “hypertext”. Hypertext
basically means there is text on a web page that you click on to
link to somewhere else.
An anchor hard reference tag <a href> </a> is used to
create a link. It has the following form:
<a href="The web address you want to link to goes
here">The text you want the user to click on to go to that
web address goes here </a>
Add the following tag to your web page:

Click the Run button to have the link show up as
shown below:
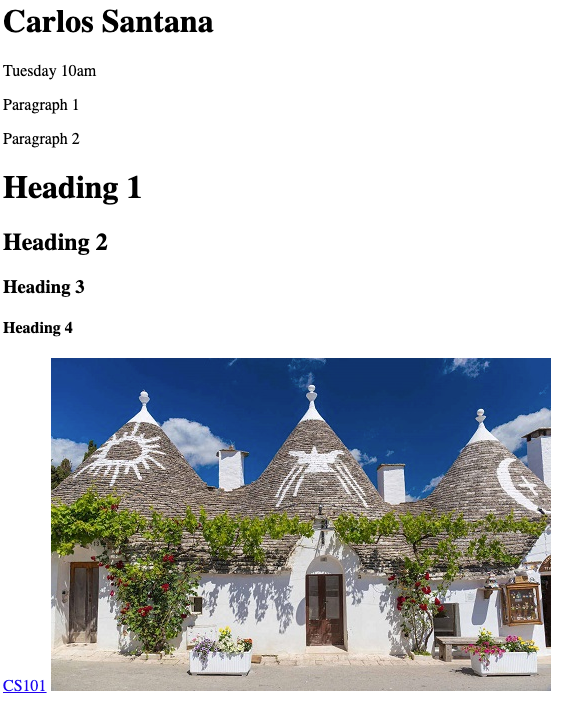
Try out the link by clicking on it. Once it loads up the CS101
website you can just click the Run button again
to display your web page.
You just created an absolute link. When the user clicks your link
they go to the web page located at the address
"https://blue.cs.sonoma.edu/cs101/". That address points to one
computer and one HTML document on the Internet. If that HTML
document is not on that computer the address will not work. The
HTML document absolutely needs to be on that computer.
Unfortunately, as i demoed at the beginning of class, one of the
limitations of the HTML Tutorial coding area is that while we can
place external hard anchor references tags in our HTML coding area
they will be blocked by most servers since it does not recognize
were the request is coming from.
Part 3: Extra Credit and Feel Like A
Programmer!
Now the funnest part of the project. You can earn 35 points extra
credit and more importantly you can feel what it is like to be a
programmer. When you are usually programming you are not
given instructions on how to complete the project. You have to
come up with the algorithm (program) yourself.
For extra credit we are now going to ask you to add some elements
to your web page, but we are now going to tell you how to do so,
so you get to feel what it is like to be a programmer. You might
find that your group members and the HTML tutorial we are using
might have some useful information to completing the extra credit
(the HTML tutorial definitely does have useful information).
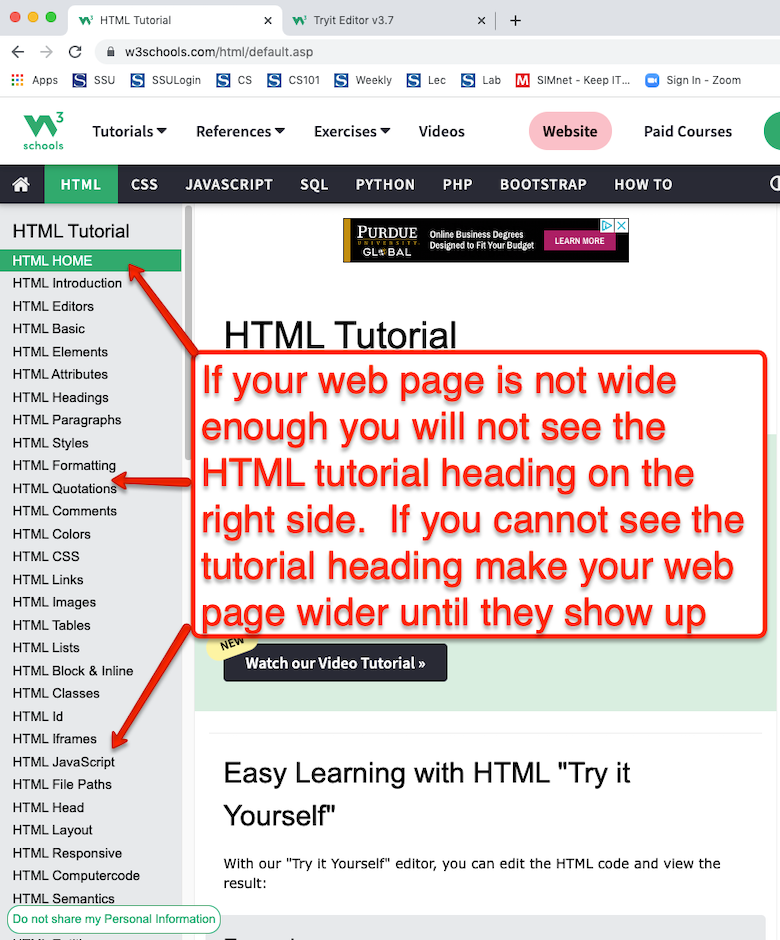
For this part of the lab make sure you web page is wide enough to
see the HTML tutorial heading on the right side of the web page as
shown below:
The tutorial will be very helpful in finding the information
needed to complete the items below:
Here is what we would like you to add to your project, all should
be added between the two body tags:
5 points available = Add a style
tag to the opening body tag to change the background color of
your web page.
5 points available = Add a style tag to change the background
color of one your headings.
5 points available = Add some nested tags to make some of your
text both bold and italic.
5 points available = Add a style tag to create a border color
around some text on your web page.
5 points available = Add some tags and text to create a
unordered list on your web page.
5 points available = Add some tags and text to create an ordered
list on your web page.
5 points available = Add some tags and text to create a table on
your web page that contains your first name, last name, and lab
day and time each in a separate table cell.
Part 4: Save Web Page, Download Grade
Sheet, Copy Web Page Information Into Grade Sheet, Fill Out
Grade Sheet, and Upload Grade Sheet
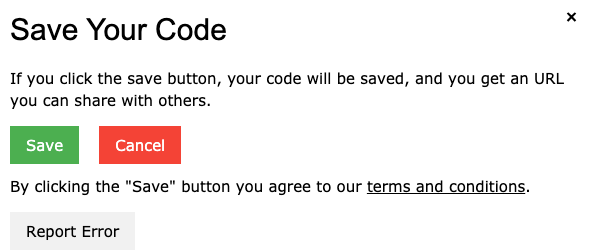
We will now save your HTML work and copy the grading link into the
grade sheet we will soon download. Click on the disk icon at the
top of the editing area as shown below:

When the following save dialog box opens click the green Save
button:
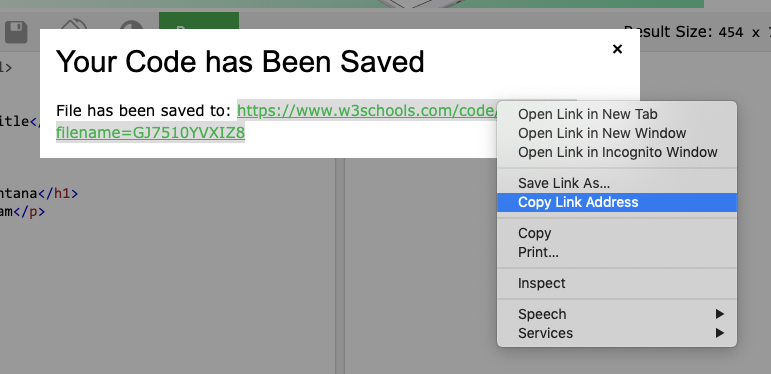
Now when the following Your Code has Been Saved dialog box opens
and it is very important to copy the link it contains by using the
following method. Right click on the link and select Copy
Link Address as shown below:
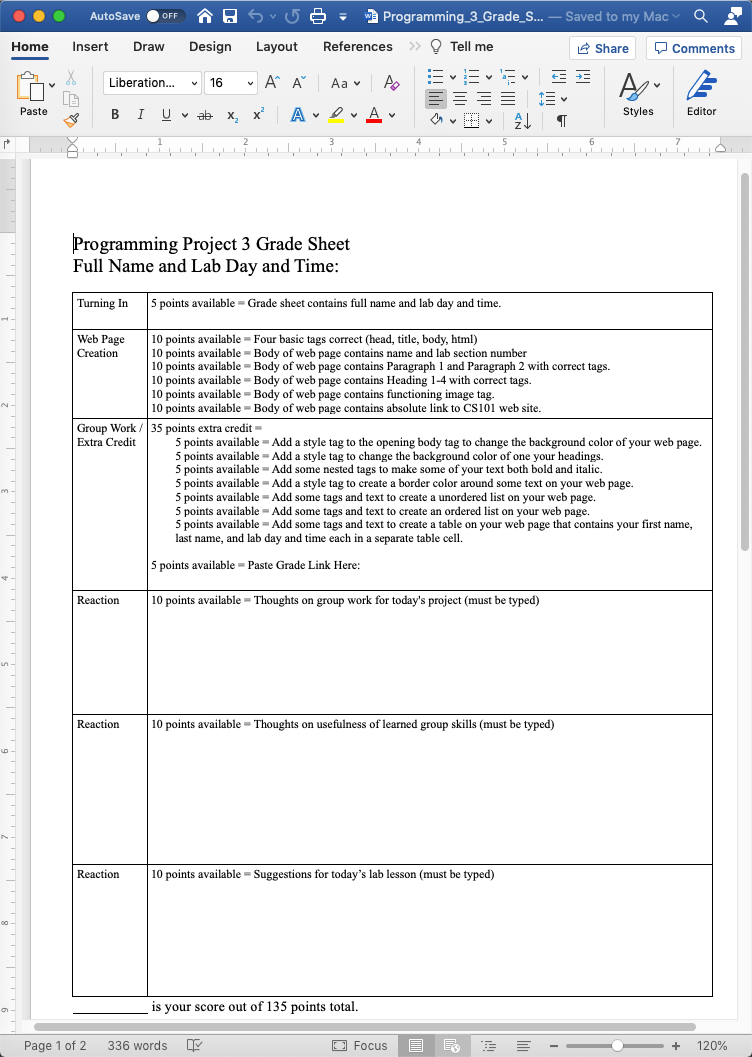
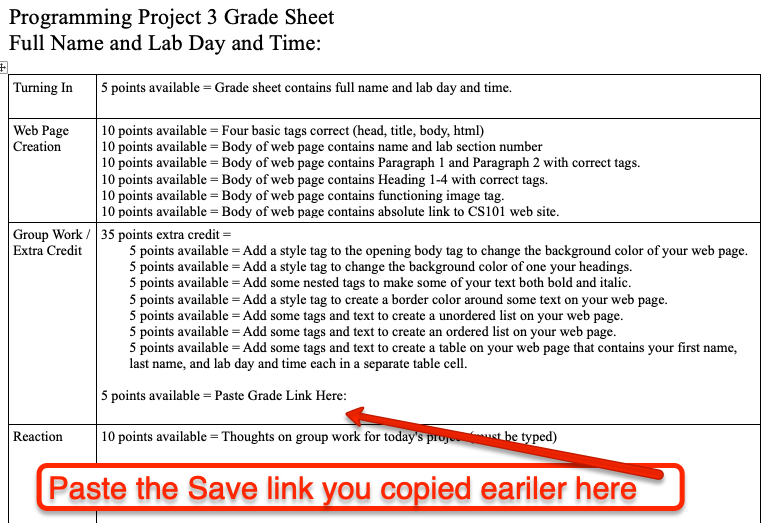
For this lab there is a grade sheet. The grade sheet informs you
of the tasks you are required to complete in that day's lab and
how many points each of the tasks are worth towards the total 120
points available for today's lab project.
You are about to download and open the Programming
Project 3 Grade Sheet file. When it opens your grade
sheet will look like the one shown below:
To download today's grade sheet click on the following link:
First we need to paste in your link to your saved work in the area
shown below:
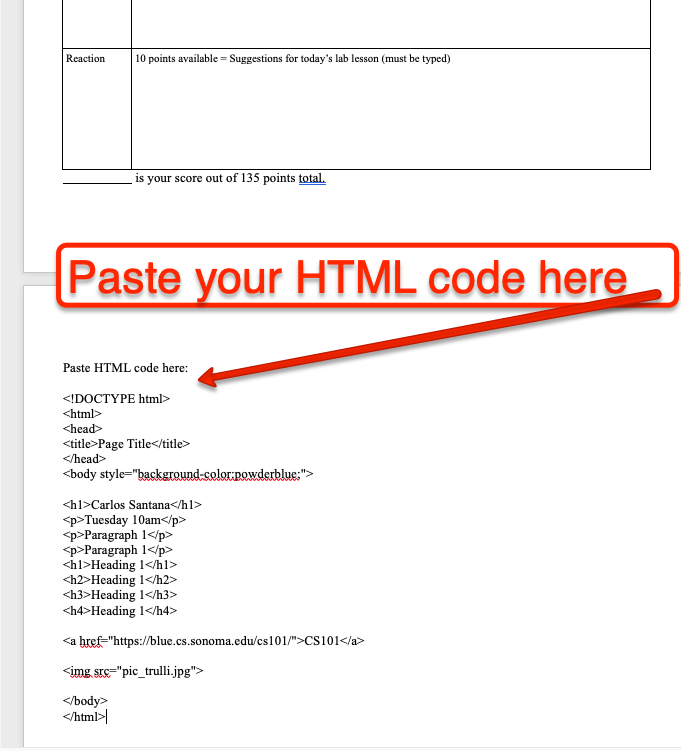
We will now copy and paste your HTML code into the grade sheet.
Highlight and copy your code on the web page as shown below (you
will have more code it you completed the extra credit):

Now at the bottom of your grade sheet paste the code as shown
below (you will have more code if you finished the extra credit):
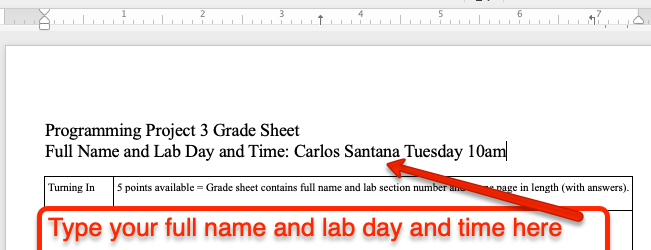
Now in the top of the document type your name and lab day and time
as shown below:
Now answer all questions on
the grade sheet by typing in your answers.
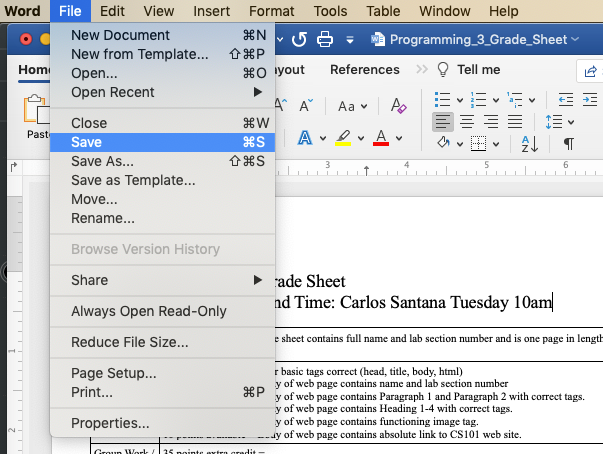
Once you have completed your grade sheet you will need to save it.
Select File menu > Save as
shown below:
Look over grade sheet to make sure you have completed the
requirements for today's lab. If you have any questions about
the grading ask your instructor.
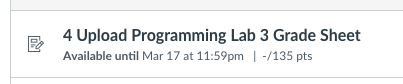
Lastly, you will need to upload your completed Programming 3
Grade Sheet for grading. In canvas use the 4 Upload Programming
3 Grade Sheet link under Assignments to upload your Programming
3 Grade Sheet as shown below:
End of Lab. |
