Goals
In this project, you will read an image and manipulate it using some basic image transformations.
You will be practicing the following concepts from prior labs:
- drawing on Graphical window GraphWin objects
- lists and 2D lists
- writing functions from specifications
- writing new functions and their docstrings
Summary
A digital image is comprised of pixels with three color channels: red, green and blue. In this project you will implement transformations to modify these colors, creating different kinds of images. These types of image transformations are a very small part of digital image processing, a big topic with applications that range from adding bunny ears using snapchat filters, to detecting tumors in MRI imagery.Before you start coding, you should read the Image
documentation and contents of the Image class
provided in graphics.py. Read the description of these functions very, very carefully
and ask questions early -- understanding what these
methods do will save you a lot of time.
Due Dates
- Checkpoint A: Due as a demo in any lab, drop-in tutoring or workshop before
Thursday, April 26 at 7 PMSunday, April 29 at 7PM. - Checkpoint B: Due as a demo in any lab, drop-in tutoring or workshop before Thursday, May 03 at 7 PM.
- Final Code: Due via Moodle on Thursday, May 10 at 11:55 PM.
Template and files
You will need the graphics package, a helper library and a template that holds some specifications for your project.
- The graphics.py library.
- Do not modify this file.
- The helper_graphics.py library.
- Do not modify this file.
- Some sample .gif file.
- Select any file you want to work with. The examples in this specification use lobo.gif. For faster processing times, you may also try using the smaller image file lobo_small.gif
- The template_P3.py project template.
- You will modify this file. The template contains functions and specifications for functions you will implement. The functions each have docstrings written for you holding the function specifications. Your implementation of the function should match the specifications provided in this template.
Checkpoint A
For Checkpoint A, you will need to read an image and display it in the Graphical Window:- Prompt the user for the name of a .gif image file.
- Immediately after the user provides the input file name, you should attempt to
create an
Imageobject using the given filename. - Your program should print an error message and exit the program if the file is empty or if it is not a valid image.
- If the file could be opened but is empty (such as when input filename is blank), the resulting image object will have a width and height of 0.
- If the file does not exist or it does not have a valid file format (such as .jpg or .png), then the
Imageclass will raise atk.TclErrorexception. You can catch and handle exceptions using a pattern like the following:try: # some statements go here except tk.TclError: # these statements are evaluted when a tk.TclError is raised
- If the file is a valid image, open and display the image in a graphical window, with Title "Click to continue..". For this purpose:
- Create a
GraphWinobject instance of the same size as that of image. - Use the
drawmember function ofImageclass to draw the image. You will notice that the image is mis-aligned. - To fix the image misalignment, you should center the
Imageclass by selecting a good anchor point on creation. Thus, you will need to open the image twice: once, just to learn the image height and width, and then again, to center and draw it.
- Create a
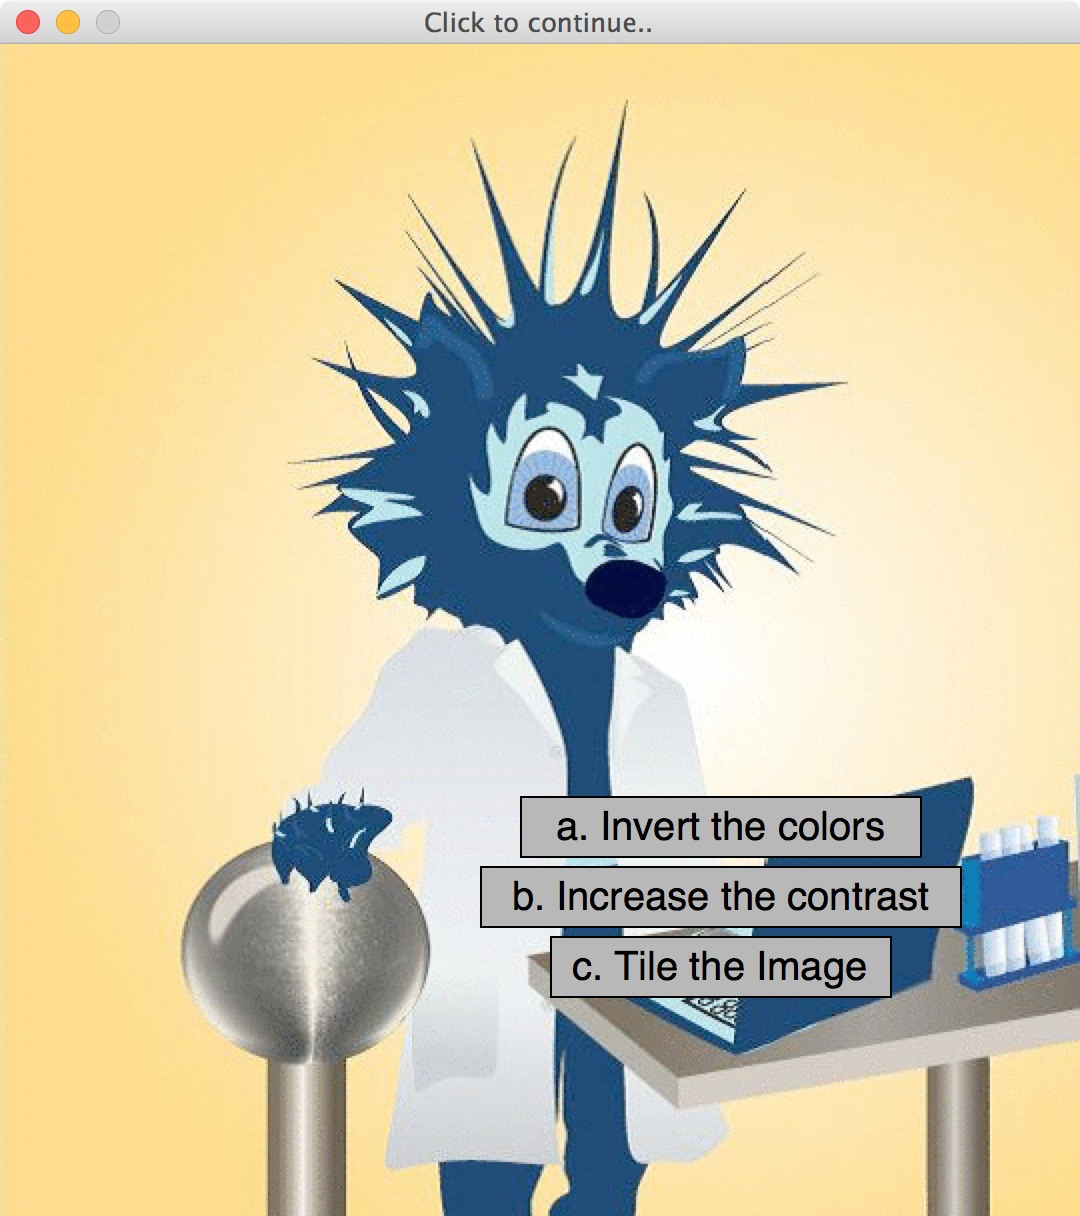
- Upon a single mouse click, display the button menu (below) on top of the image:
- For this purpose, implement the function
draw_menuaccording to the following docstring:'''Creates and draws a menu of buttons. Args: win (GraphWin): The window where buttons will be drawn. Returns: list: a 2D list L, where L[i][0] is the i-th button (Rectangle object) and L[i][1] is text shown on the button (Text object). ''' - Look at the implementation of the
draw_buttonfunction in helper_graphics.py, to help you implement this new function. - Note: You can choose where the menu is displayed but make sure it is proportional to the width and height of image. Below, it is centered at two-thirds of the width and height of image.
- For this purpose, implement the function
- Based on where the user clicks, determine the choice that the user selected.
- For this purpose, implement the function
wait_for_menuaccording to the following docstring:'''Waits for a click, detects the clicked button and returns its index. Args: win (GraphWin): The window where the user would click. buttons (list): A 2D list, where buttons[i][0] is the i-th button (Rectangle object) and buttons[i][1] is text (Text object) shown on the i-th button. Returns: int: a value between 0 and len(buttons)-1, indicating the index of the button that was clicked. ''' - Hint: Look at the implementation of the
wait_for_buttonfunction in helper_graphics.py, to help you implement this new function.
- For this purpose, implement the function
- To process the user's choice:
- Obtain the button that was clicked using the index returned from the function
wait_for_menu. - Change the text of that button to show "Processing...", using the
setTextmethod of that button. - Keep the button's text showing "Processing..." for 3 seconds. To achieve this, pause the program for 3 seconds, by calling the function
time.sleep(3), available when you import thetimelibrary.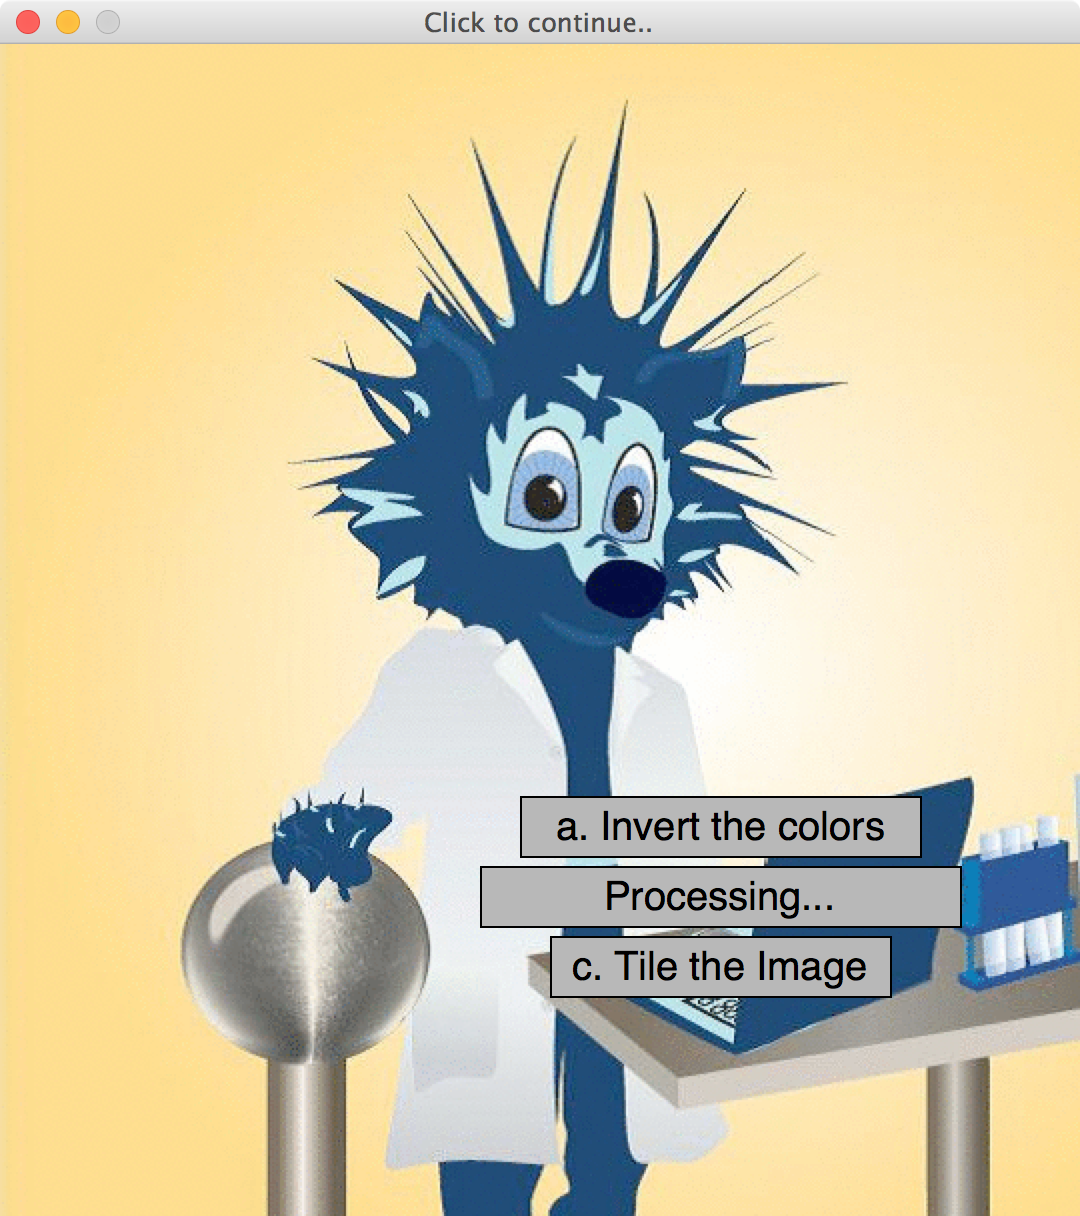
- After this, re-draw the image. (For Part A, simply re-draw the image without any image transformations.)
- Wait for the user to click anywhere in the window, and then close the window. The program should end without any errors.
- Obtain the button that was clicked using the index returned from the function
- Demo. Demo Checkpoint A.

Advice and Hints
Warning: You must implement the functions as specified. Functions should not print anything, unless it is specified.
Checkpoint B
For Checkpoint B, you will implement your first transformation: "Invert the colors," the first choice in your button menu.- Put the logic for this transformation into a function called
invert_colorsand write a docstring for it. Call this function when its button is clicked. The function should apply the transformation to the image and return. - The logic for the transformation should do the following:
Loop over all of the pixels of the
Imageinstance. For each pixel, set the red, green, and blue values equal to their old values subtracted from 255. Use thesetPixelmember function to save each modified pixel into theImageobject. ThesetPixelmember function requires the color parameter to be a string: use thecolor_rgbfunction defined in graphics.py to generate that string.Example output:

- Extend your program to prompt for an output filename, after prompting for an input filename.
- Before re-drawing the image to show the transformation to the user, save the image to this new filename using the
savemethod of theImageobject. - If the file could not be saved, your program should print an error message and exit the program. If the file could not be saved, the
Imageclass will raise atk.TclErrorexception.
- Before re-drawing the image to show the transformation to the user, save the image to this new filename using the
- Demo. Demo Checkpoint B.
- Your program will only do one transformation per run. Your program should end after you have completed the user's transformation and saved the image. In the next part, we will extend your program to support new transformations.
Advice and Hints
Warning: Note: The image library is pretty slow. Each of your functions may take some time to run. For faster processing times, try using the smaller image file lobo_small.gif
Final Code
In your final code, you will implement two more transformation options for second and third button:
Second Button: Increase the contrast
Increase the contrast of the image by:
- Finding the minimum and maximum values in each color channel.
- Generating new minimum and maximum values by subtracting 25 from the original maximum value and adding 25 to the original minimum values.
- Transforming red, blue and green color of each pixel by calling the
normalizefunction from helper_graphics.py and providing it the new minimum and maximum values. Look at the docstring for the functionnormalizeto understand its usage. - Write your logic into a function called
increase_contrast, write a docstring for it following our class conventions and call this function when its button is pressed.
Here is an example:

Third Button: Tile the Image
Tile the image N times. To accomplish this, sample every N pixels in the original image. For example, with N = 3, we would sample the pixels in position (0,0), (3,0) and (6,0) in the original image to determine the colors of pixels (0,0), (1,0) and (2,0), respectively, in the new image.
- You should write generic logic that works for any value of N. Use the value of the variable
TILE_NUMBER, defined by helper_graphics.py for the number of times the original image should be tiled. - Hint: Before you tile, you may want to use the
clone()method to make a copy of the original Image object. That way, you can refer to this copy when sampling the original values, while modifying the image for the transformation. - Write your logic into a function called
tile_image, write a docstring for it following our class conventions and call this function when its button is pressed.
Here is an example, where TILE_NUMBER = 3:

Integration
Each of your transformations should follow the same pattern from Part B. In particular, each transformation is in its own function, that function has a docstring, it is called when its button is pressed, and the transformed image is saved to the filename given by the user. The program will only do one transformation and then exit.
There is no demo for your final code.
Grading Rubric
- Checkpoints [20%]
-
Each of the checkpoint demo is worth 10 points (all or nothing).
- Correctness [60%]
-
Your program will be tested numerous times, using different images, to be sure that it meets the specification. You will not get full credit for this unless your output matches the desired output exactly for every case. For details, see the rubric below.
- Programming Design and Style [20%]
-
In addition to being correct, your program should be easy to understand and well documented. For details, see the rubric below.
Detailed Rubric
Correctness: functionality and specifications (60 points)
| 3 pts. | Exits the program with error if the user supplies a bad input filename (such as a file that does not exist) |
| 2 pts. | Exits the program with error if the user supplies a blank input filename |
| 2 pts. | Prints an error message if the user supplies a bad output filename (such as blank filename or a filename without .gif extension) |
| 3 pts. | Saves the transformed image correctly with the name of the output file as provided by the user |
| 10 pts. | Follows the display sequence correctly (Display image, followed by menu, followed by button text changing to "Processing..." and finally the transformed image) |
| 10 pts. | Transformation: Inverting color works |
| 10 pts. | Transformation: Increasing contrast works |
| 10 pts. | Transformation: Image tiling works (we will change the TILE_NUMBER to test that tiling works for different values of N) |
Your program will be tested on both the sample image provided (lobo.gif) and a new image.
| 7 pts. | Program must have student-written functions obeying above guidance. | 3 pts. | Functions are fully documented with a docstring confirming to our docstring conventions from class. |
Programming Design and Style (20 points)
- Docstring (3 points)
- There should be a docstring at the top of your submitted file with the following information:
0.5 pt. Your name (first and last) 0.5 pt. The course (CS 115) 0.5 pt. The assignment (e.g., Project 1) 1.5 pts. A brief description of what the program does - Documentation (3 points)
- Not counting the docstring, your program should contain at least three comments explaining aspects of your code that are potentially tricky for a person reading it to understand. You should assume that the person understands what Python syntax means but may not understand why you are doing what you are doing.
3 pts. You have at least 3 useful comments (1 point each) - Variables (3 points)
-
3 pts. Variables have helpful names that indicate what kind of information they contain. - Algorithm (3 points)
-
3 pts. Your algorithm is straightforward and easy to follow. - Dead code or misleading comments (5 points)
-
2 pts. Your final program should not contain dead code. Dead code is any old code that has been commented-out or otherwise been made permanently inactive, i.e., for the purposes of development or testing. 2 pts. Your program should not have irrelevant or misleading comments. This includes #TODOcomments that do not indicate things that still need to be done; if they been done then they should no longer be marked "TODO". This also includes comments you have added to the code or inherited from the template that do not describe the code any longer. - Program structure (3 points)
- All or nothing: your code should define a main function and then call that function, just like our programs do in the lab. Other than library imports, the docstring, and the final call to
main(), you should not have any stray code outside a function definition. - Catchall
- For students using language features that were not covered in class, up to 5 points may be taken off if the principles of programming style are not adhered to when using these features. If you have any questions about what this means, then ask.
Submission
You should submit your final code on Moodle by the deadline. I strongly encourage you to take precautions to make and manage backups while you work on your project, in case something goes wrong either while working or with your submission to Moodle.
Name the file you submit to Moodle yourlastnameP3.py, substituting your actual last name (in lowercase) for yourlastname.
Late Policies
Project late policies are outlined in the course policies page.
Collaboration Policy
Programming projects must be your own work, and academic misconduct is taken very seriously. You may discuss ideas and approaches with other students and the course staff, but you should work out all details and write up all solutions on your own. The following actions will be penalized as academic dishonesty:
- Copying part or all of another student's assignment
- Copying old or published solutions
- Looking at another student's code or discussing it in great detail. You will be penalized if your program matches another student's program too closely.
- Showing your code or describing your code in great detail to anyone other than the course staff or tutor.