CS 115 Lab 1, Part B: Writing a Python program using PyCharm
[Back to Lab 1]
Summary
In this part of the lab, you will use PyCharm (http://www.jetbrains.com/pycharm/) to write and run a Python program. The screenshots
on this page were taken on a Mac. For now, that is the operating system that you should run in our labs.
Instructions
- Find the PyCharm icon on the menu-bar, as displayed below, and double-click on it to launch PyCharm.
- The following screen will pop up. The first time around, it may take a bit longer for it to
launch.
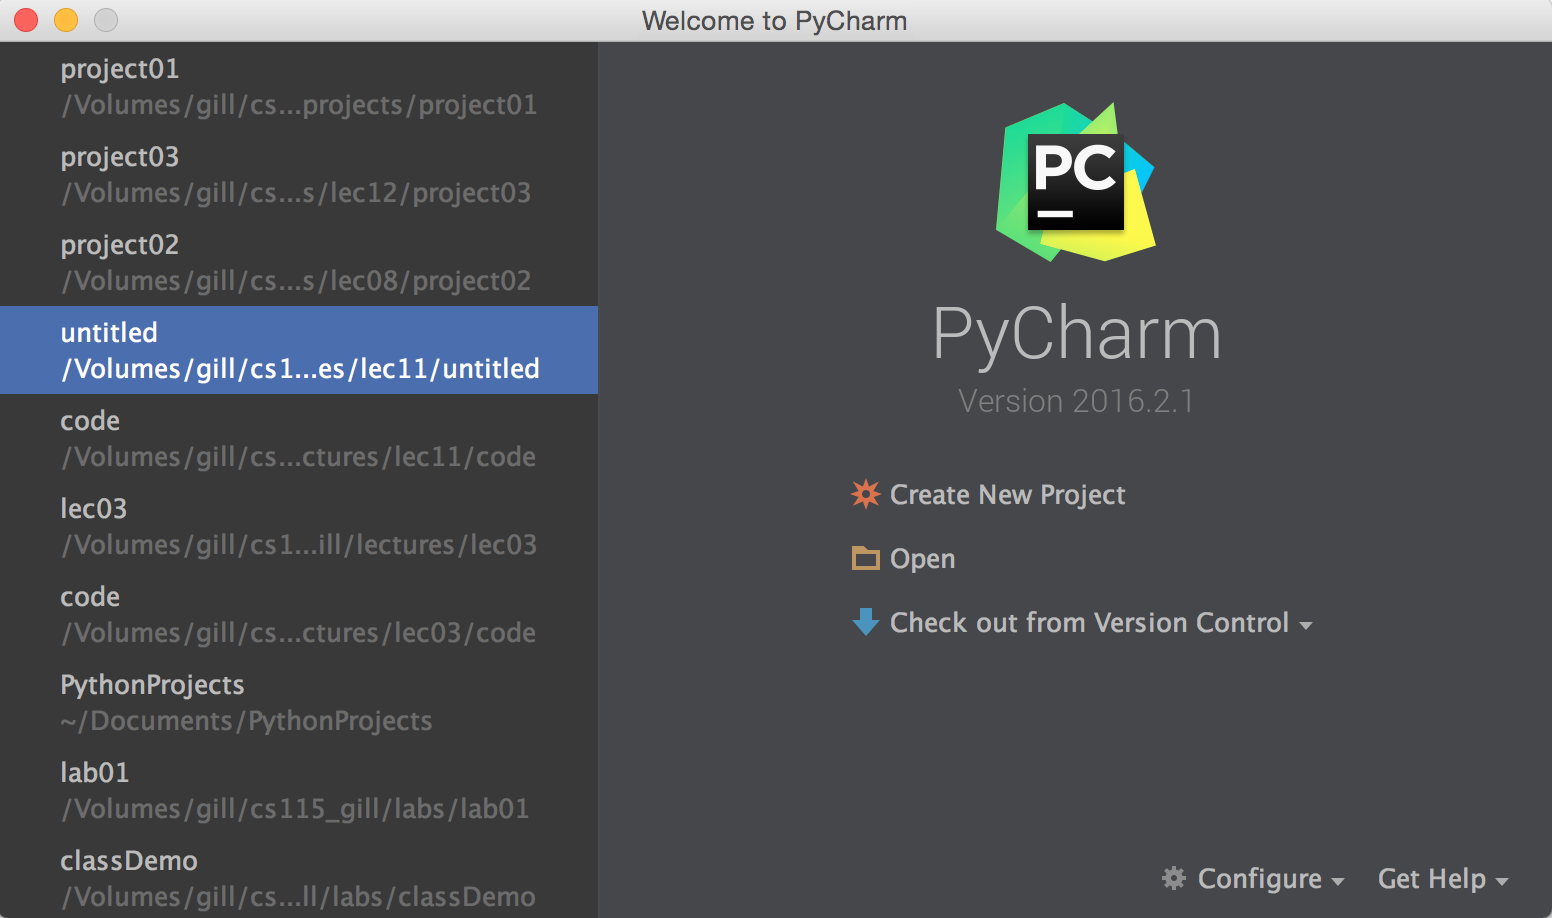
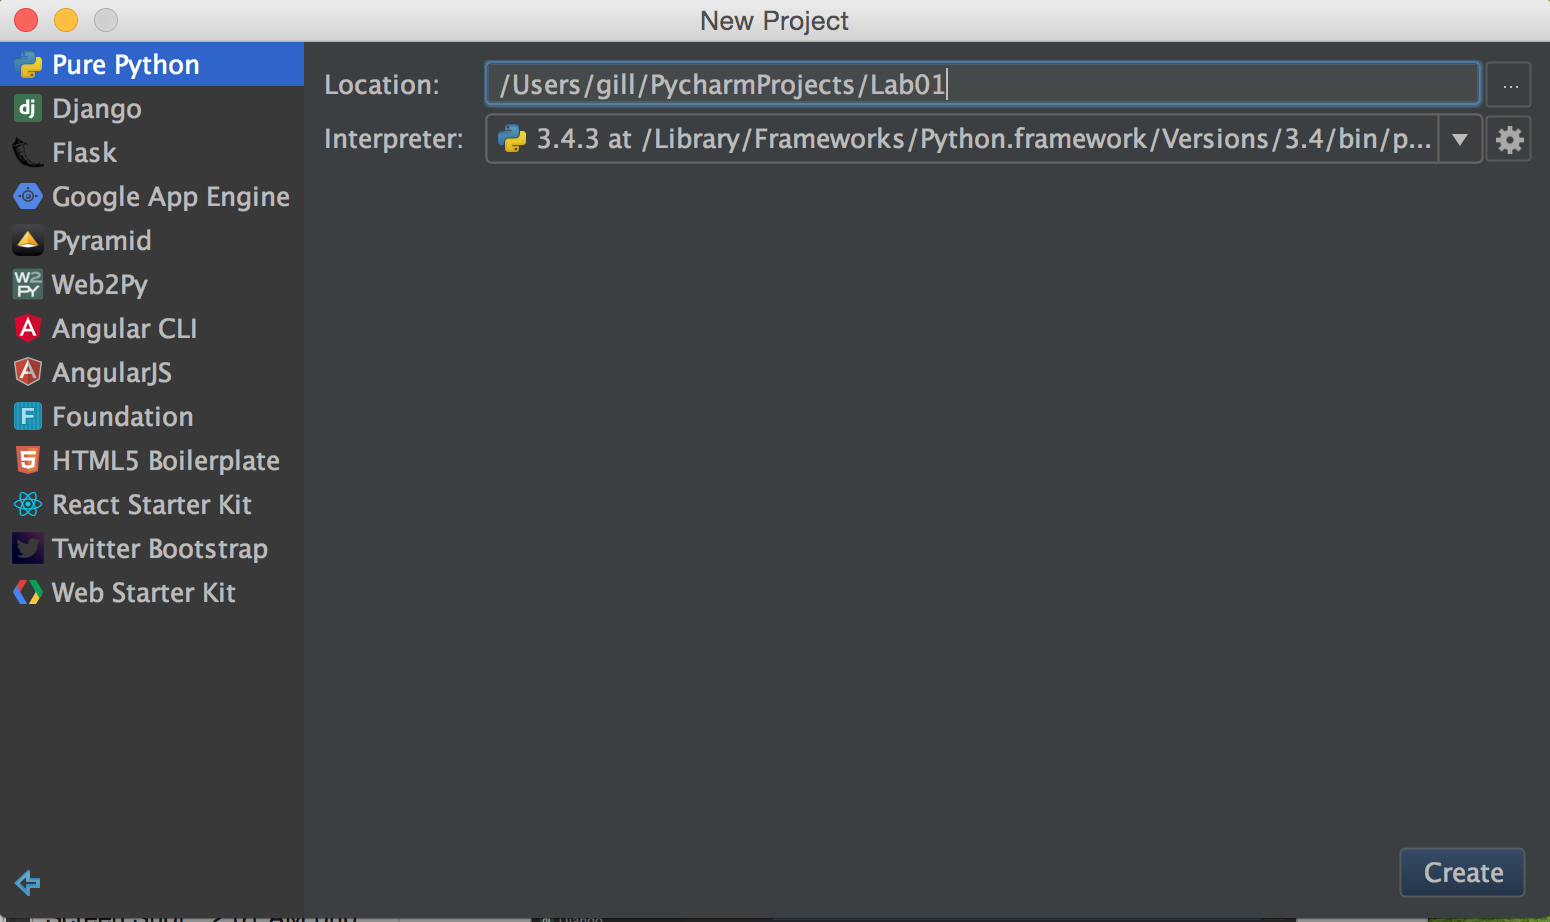
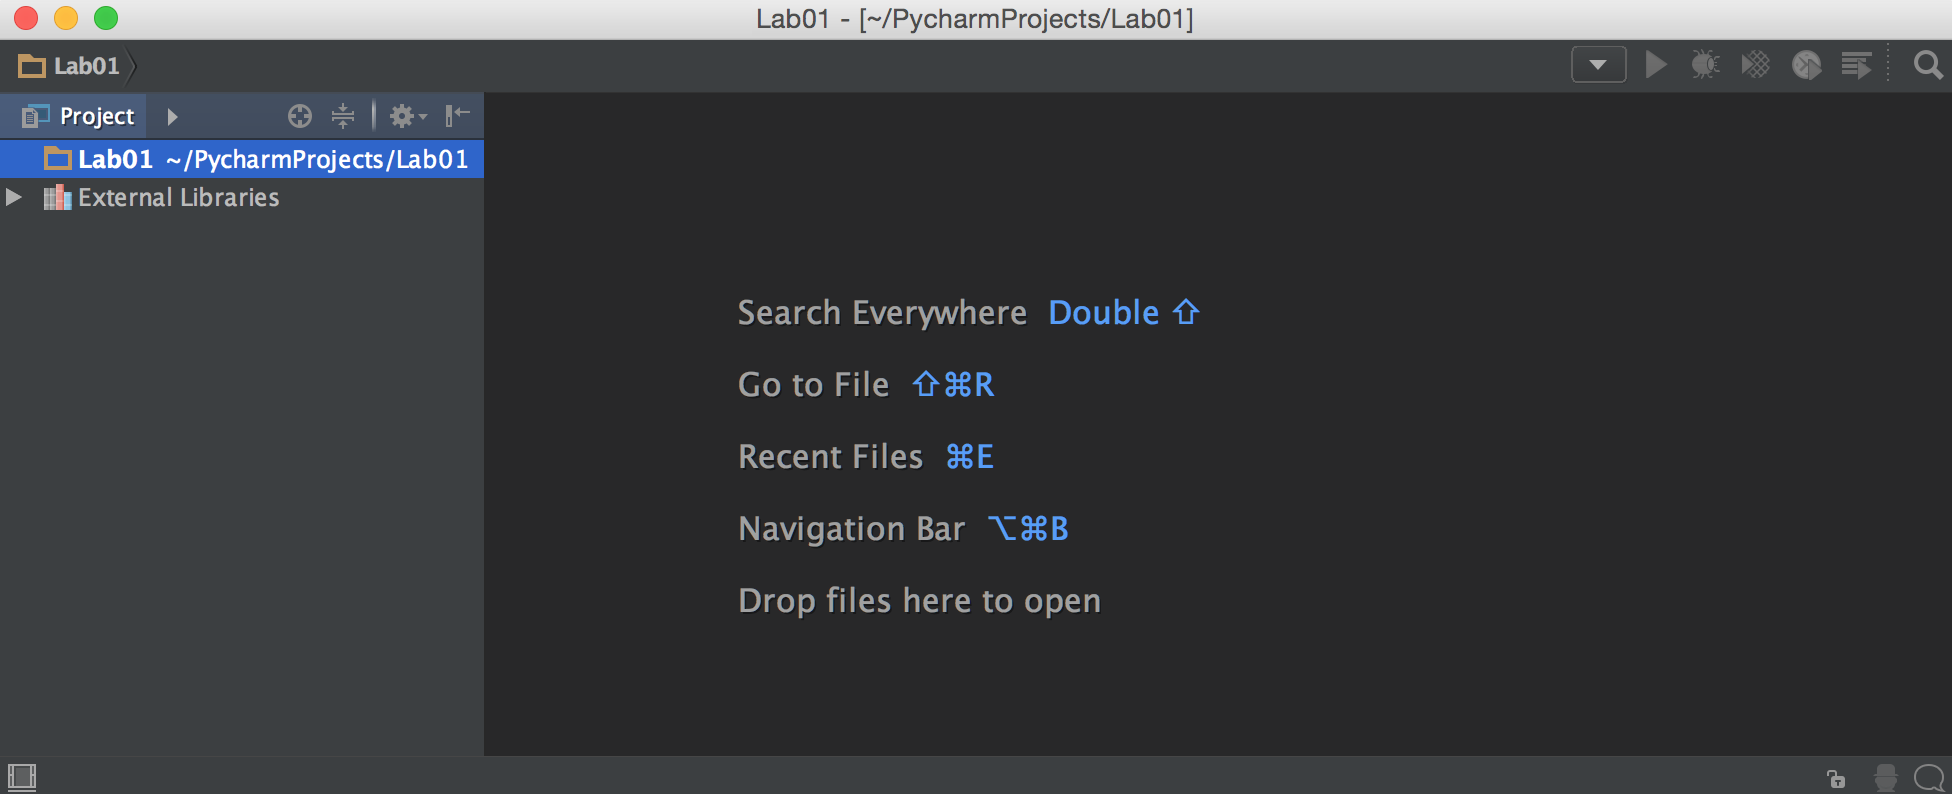
- Select Create New Project. A new window will
appear as shown below.
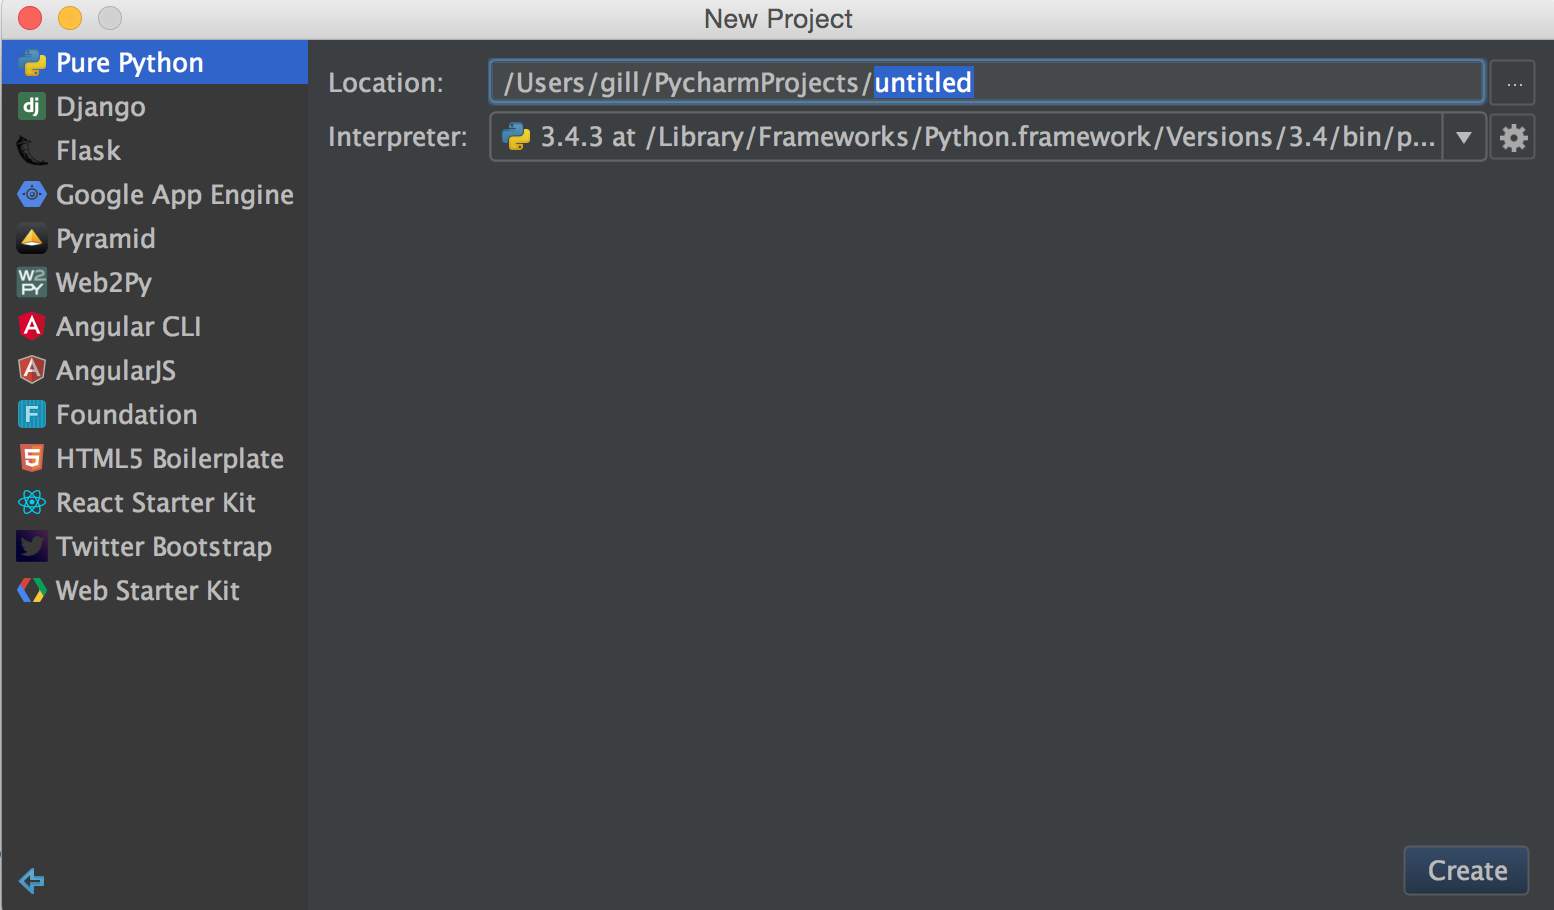
- You create a new project for every lab for this course. So, let's call the project for this
lab, Lab01. Click Create button on bottom right of this window.
- When you create a project, PyCharm creates a folder (directory) for you so that you can store
all files that are related to that project in that folder. Double-click on Lab01 (top-left) to see the
following image.
- Right-click the mouse in the highlighted project-name and then slide the mouse and place it
on New menu-item and then file.
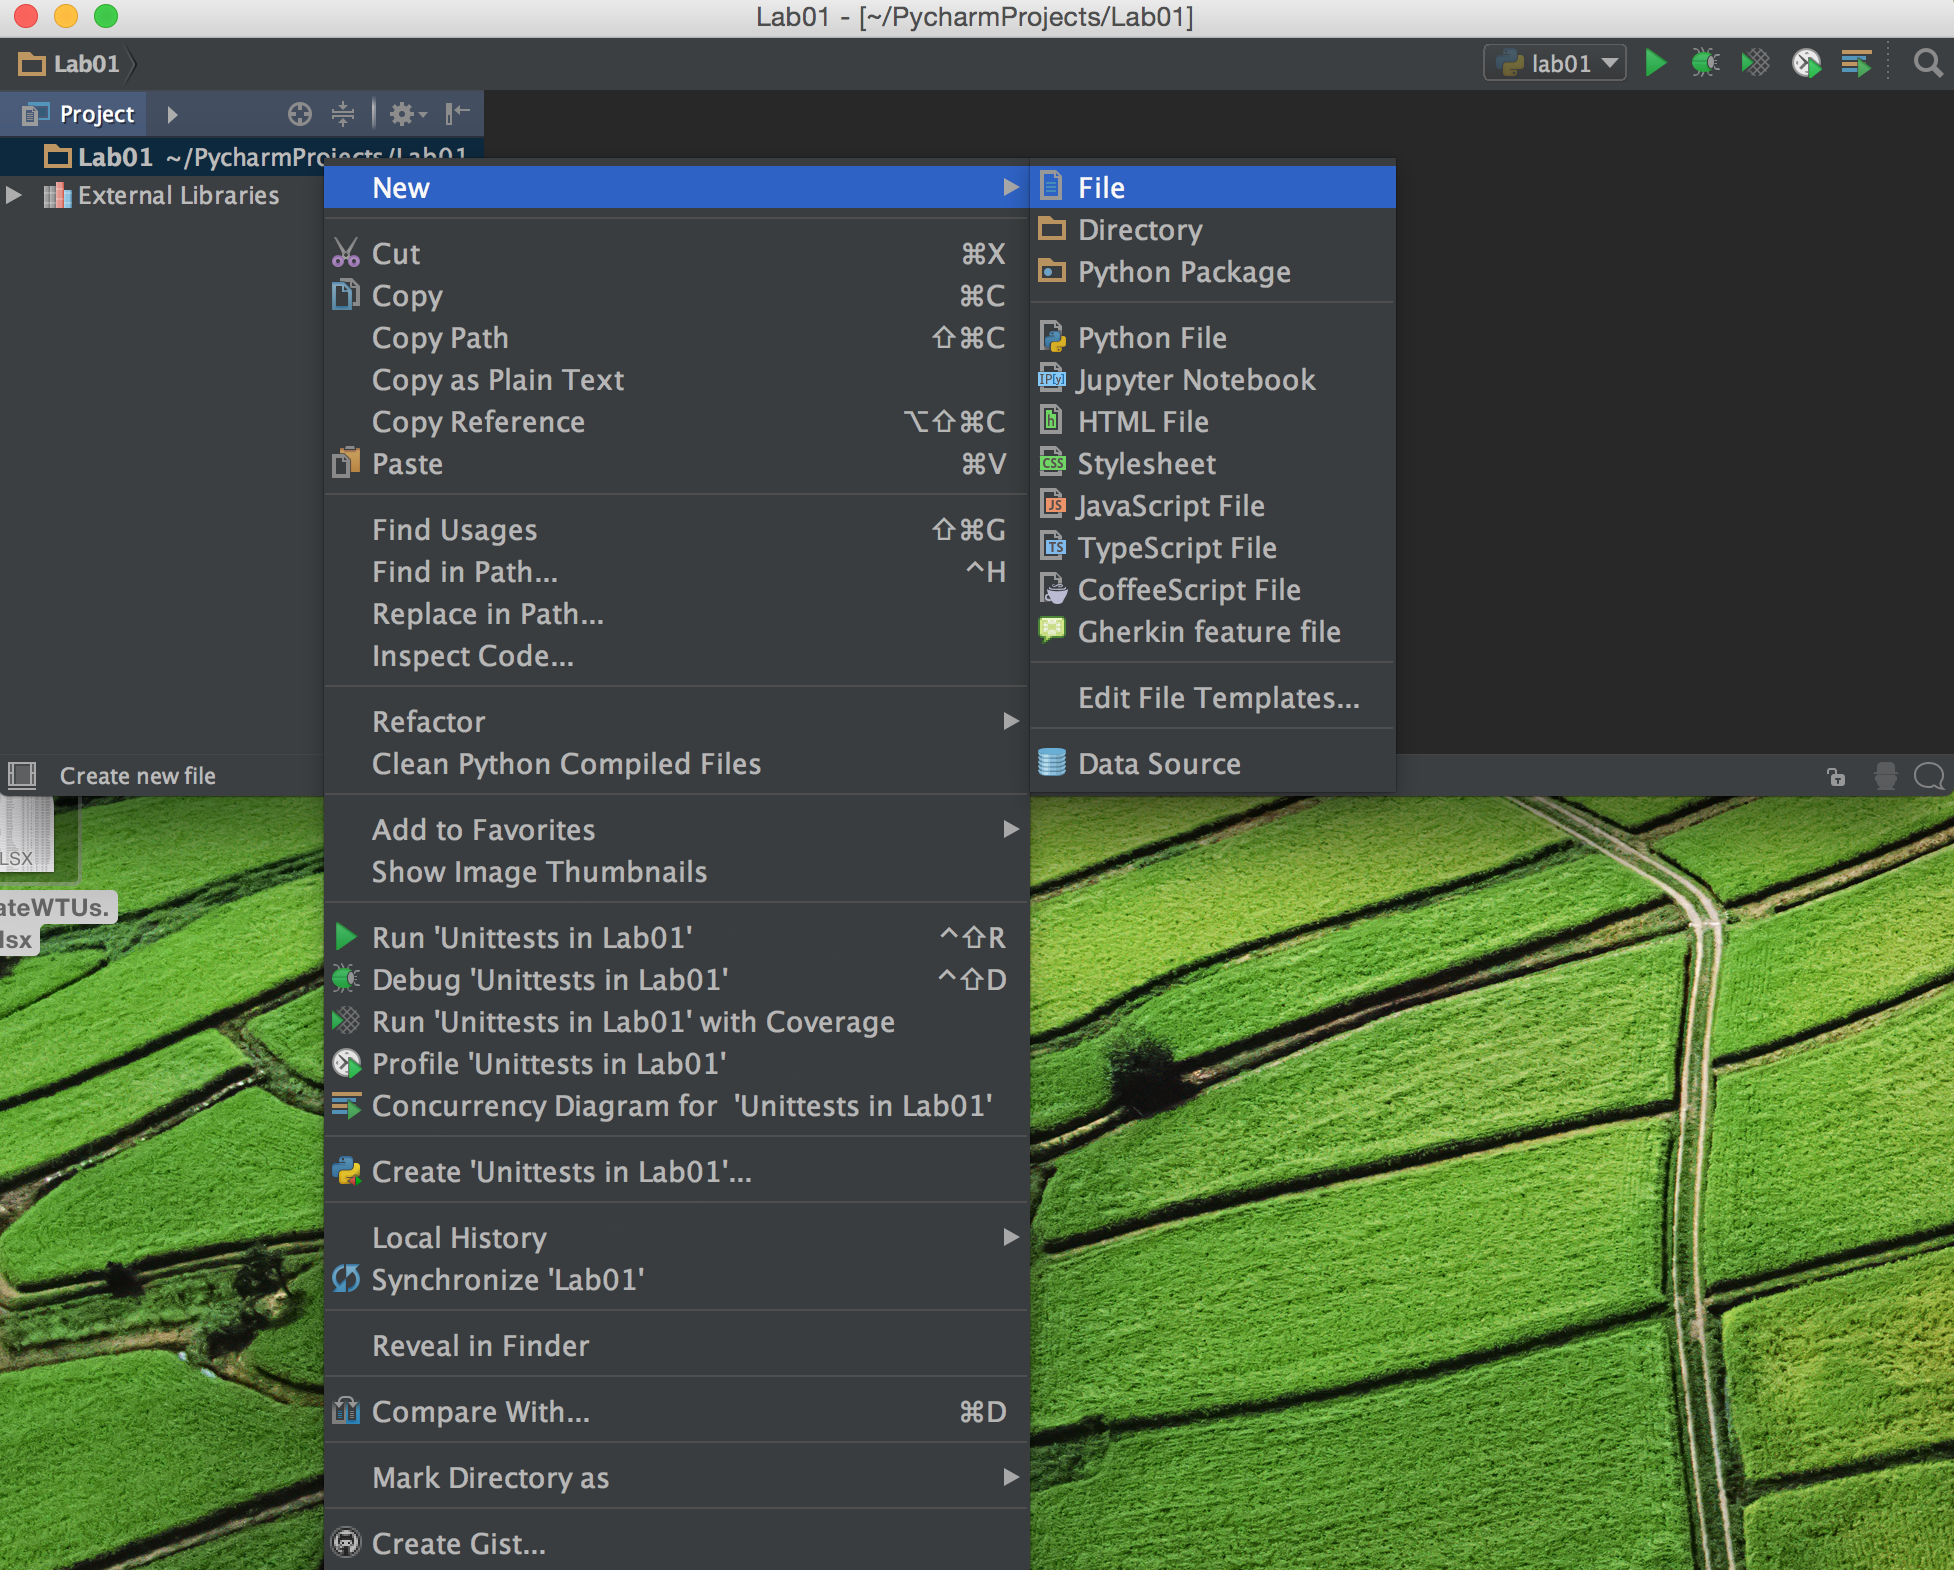
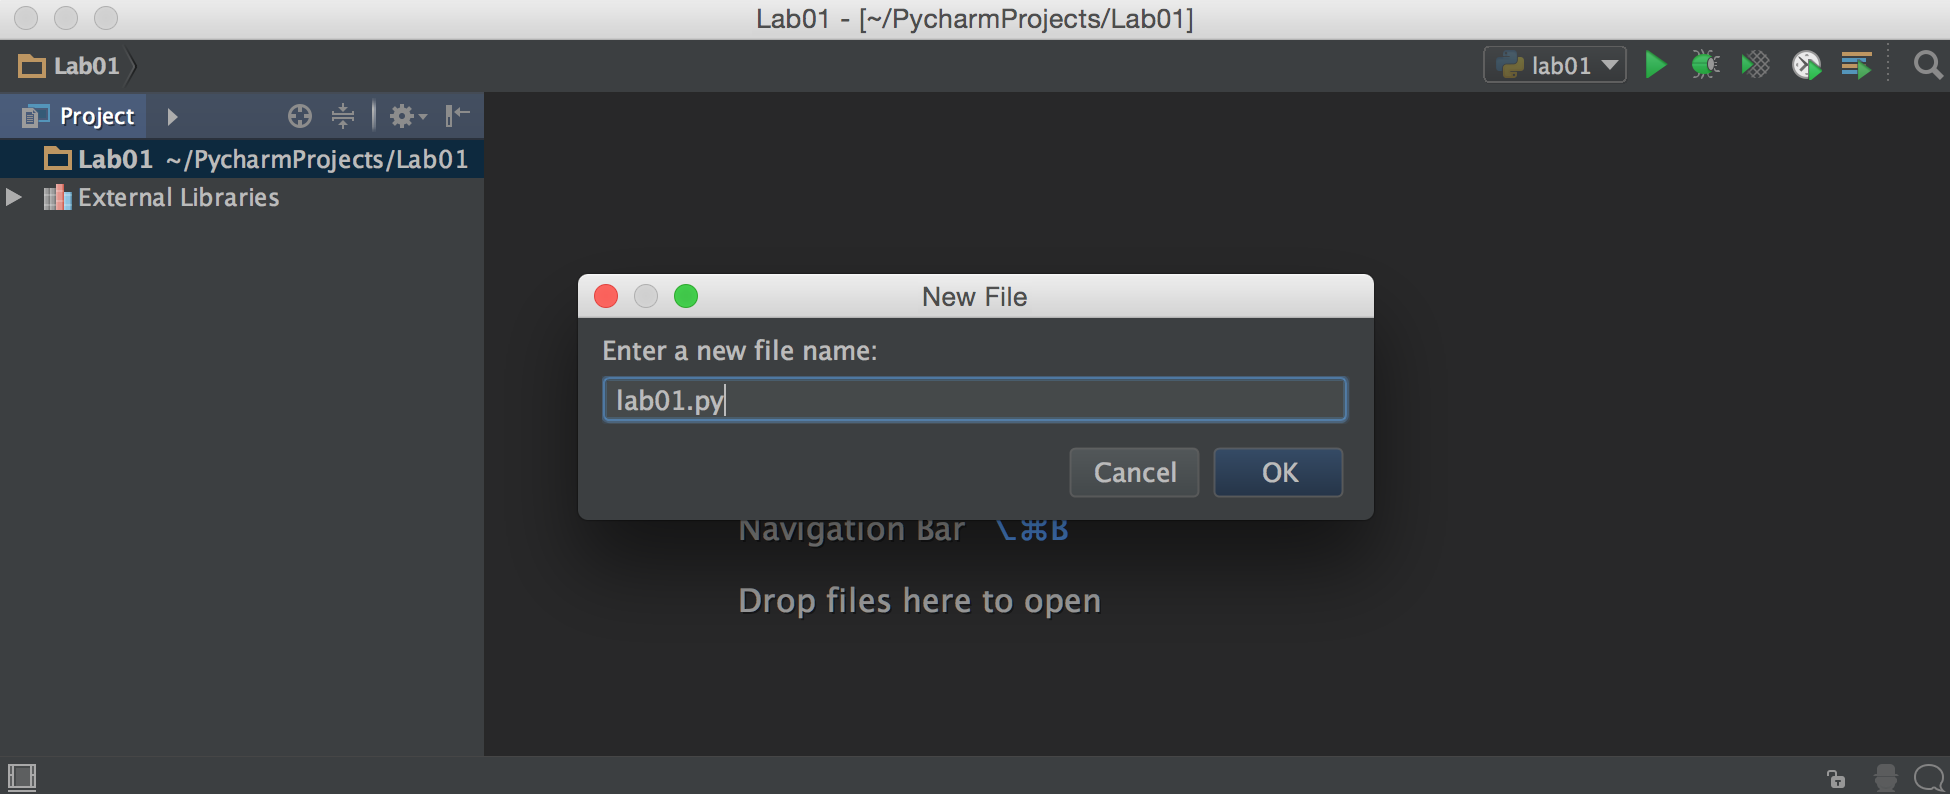
- Now, type the name of the Python program for this lab, lab01.py and click
on OK
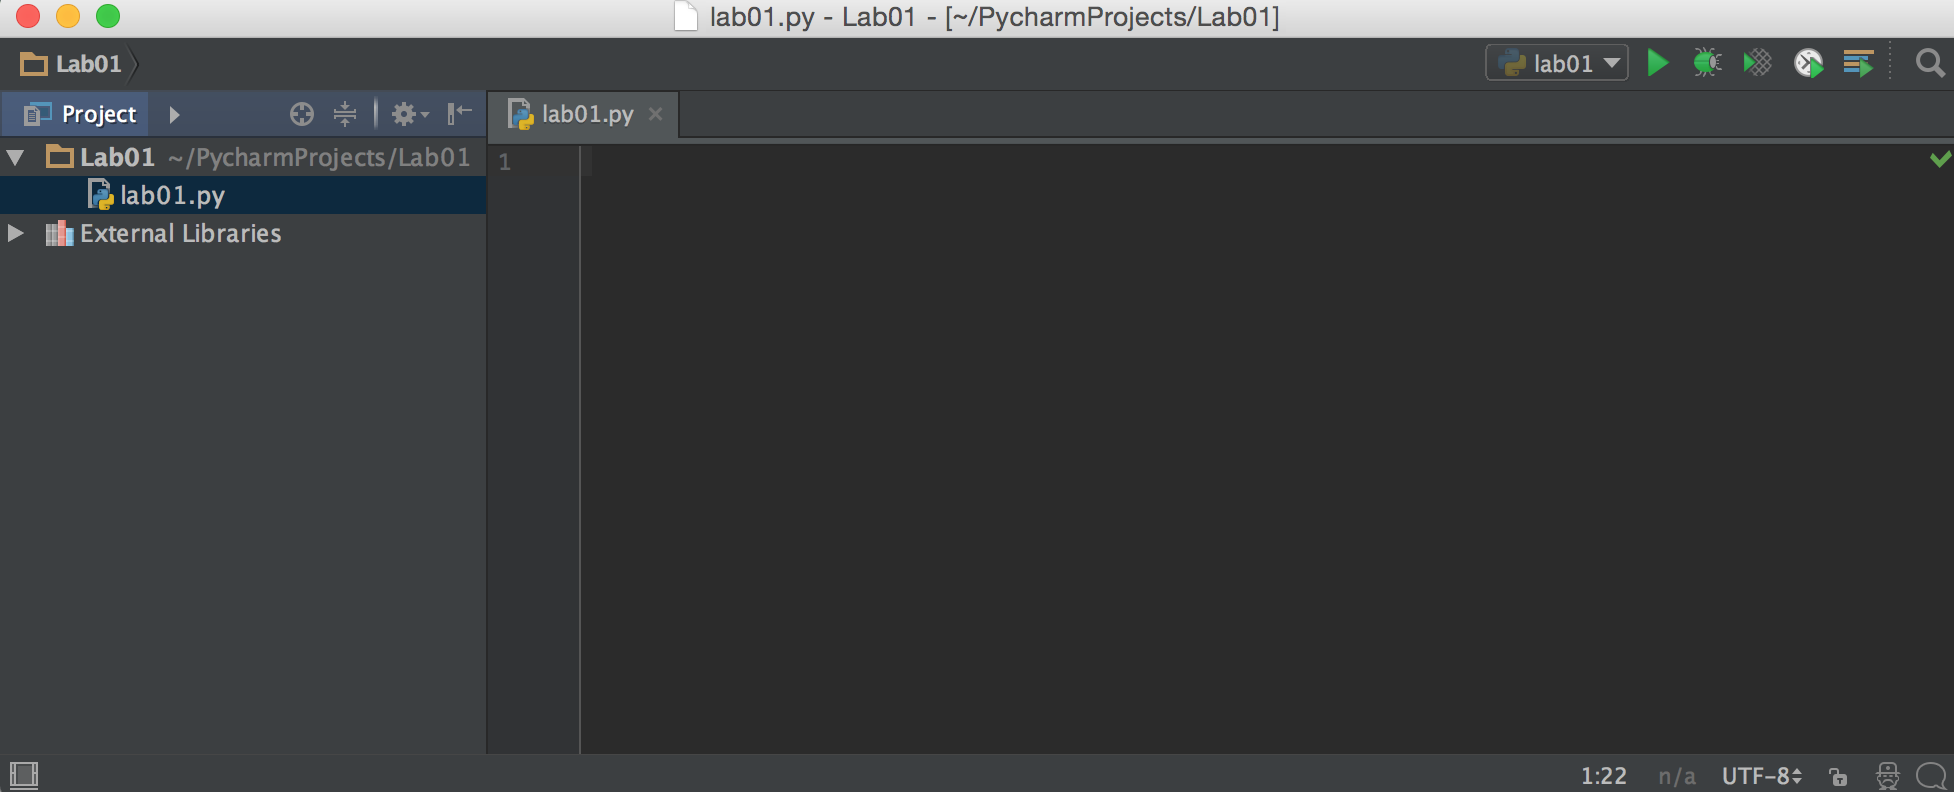
- Now, PyCharm is ready for you to enter code in the file that you just created.
- Copy and paste the following code-segment into the empty panel.
"""

Lab 1: This program prompts for your name and then greets you by name.
Author: ____________
"""


def main():
    name = input('What is your name? ')
    print('Hi there, ', name)


main()
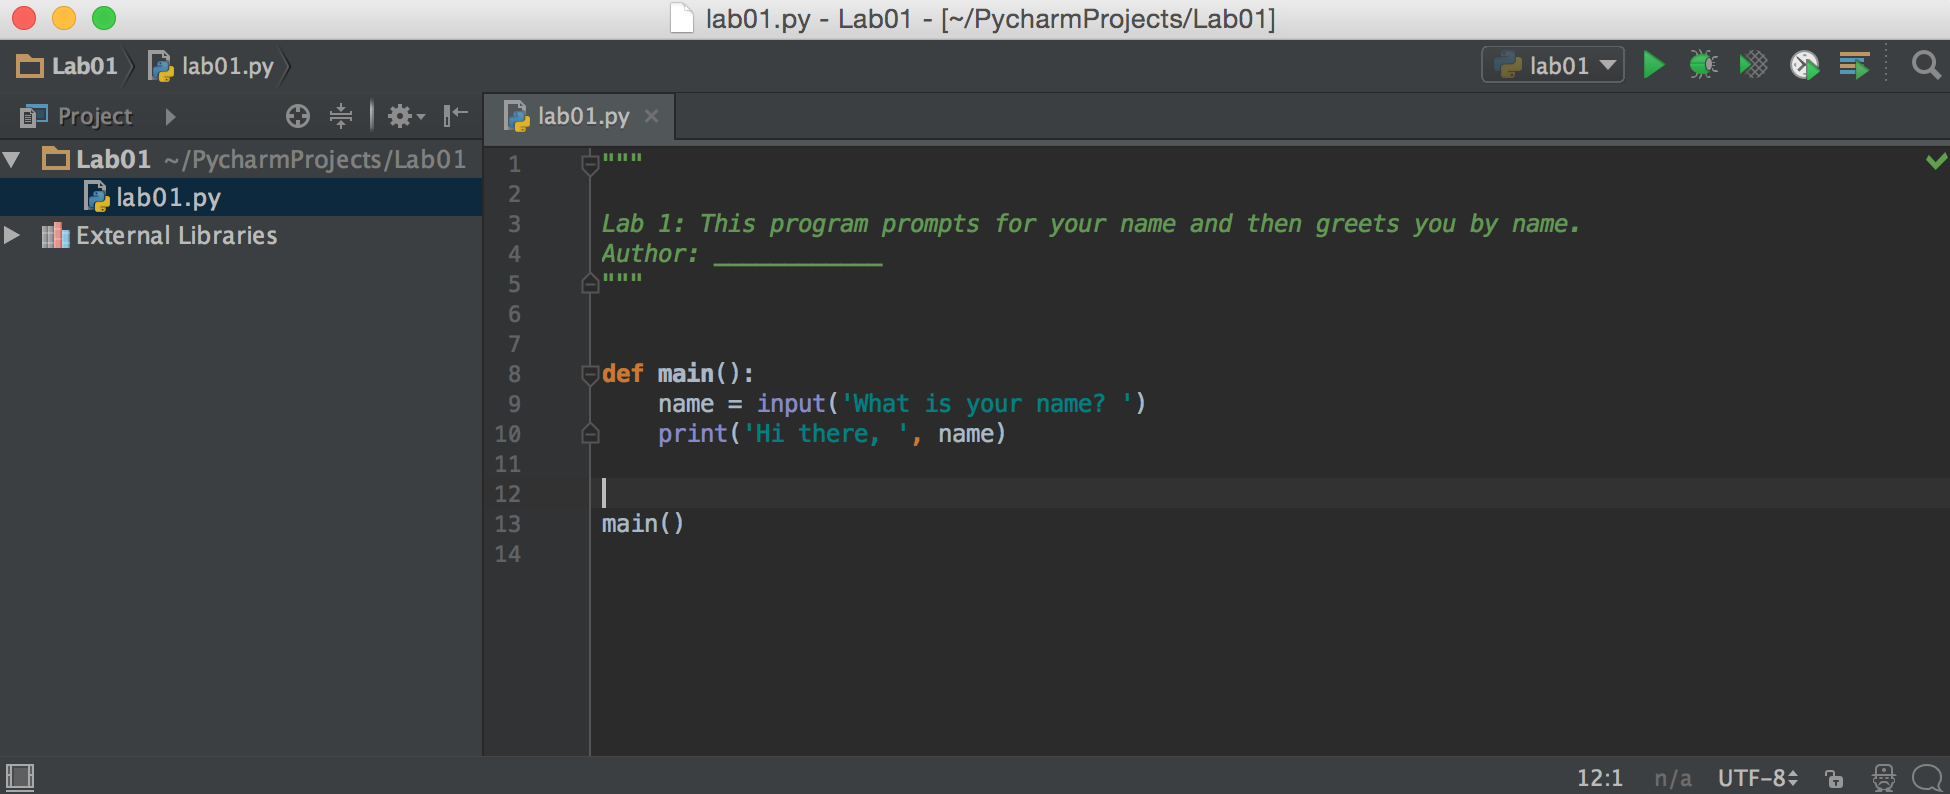
- Modify the docstring at the top of the program to add yourself as the author of the program.
- Go to the Run menu (on the top of the screen), then select Run. A sub-window opens up:
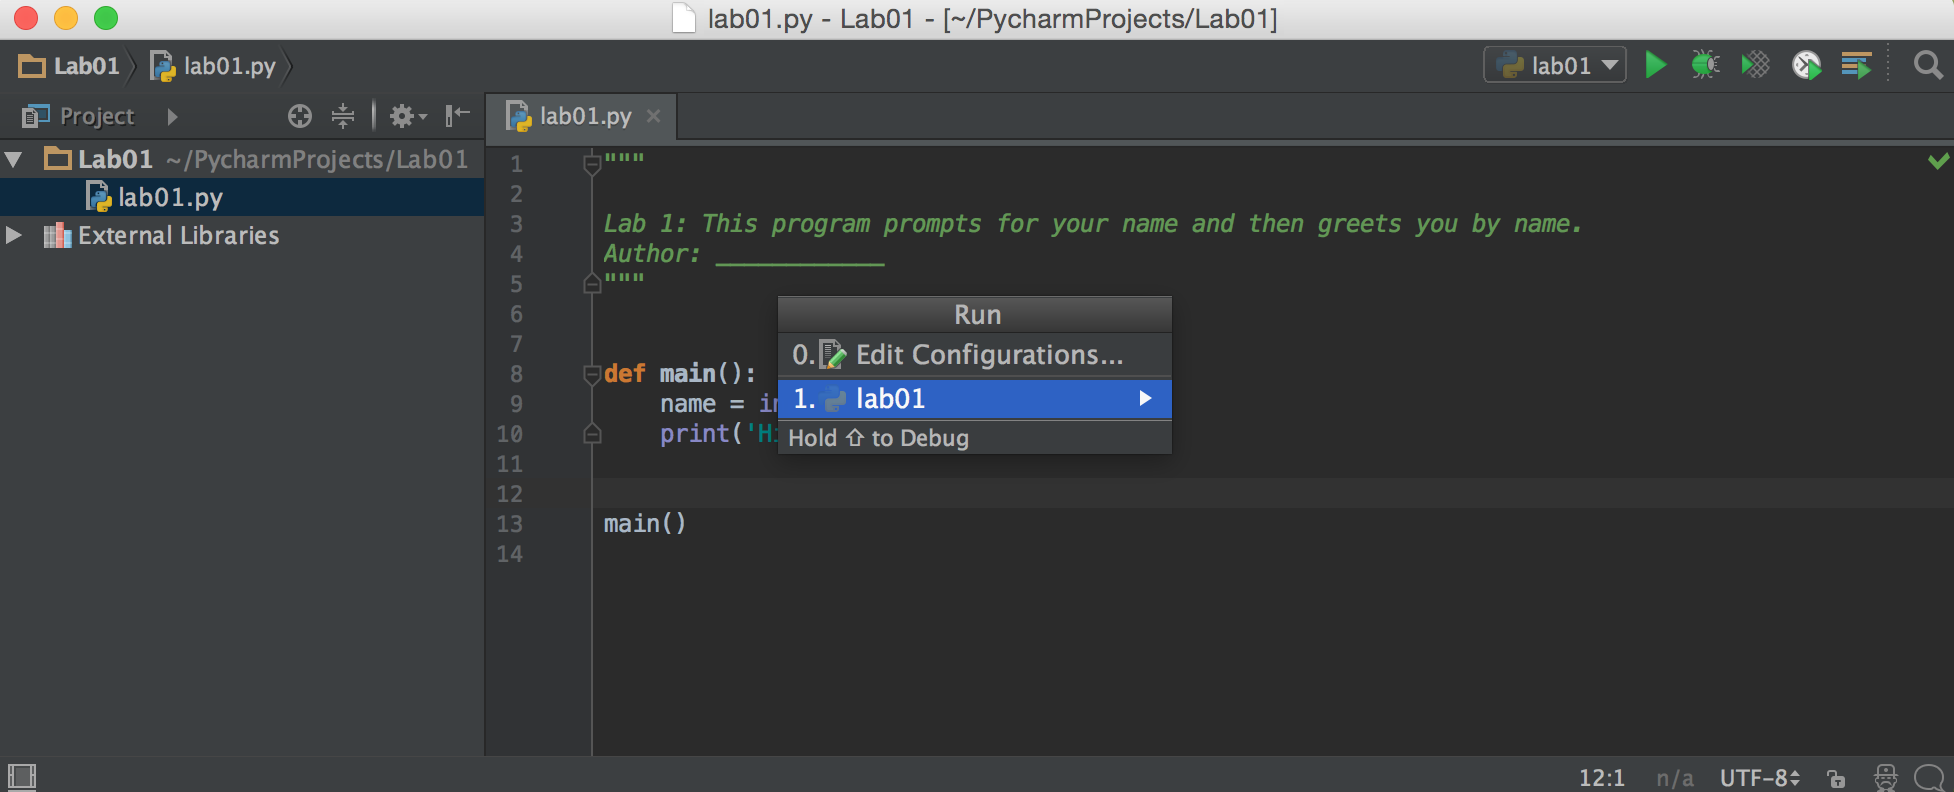
- Click on lab01 to run the program.
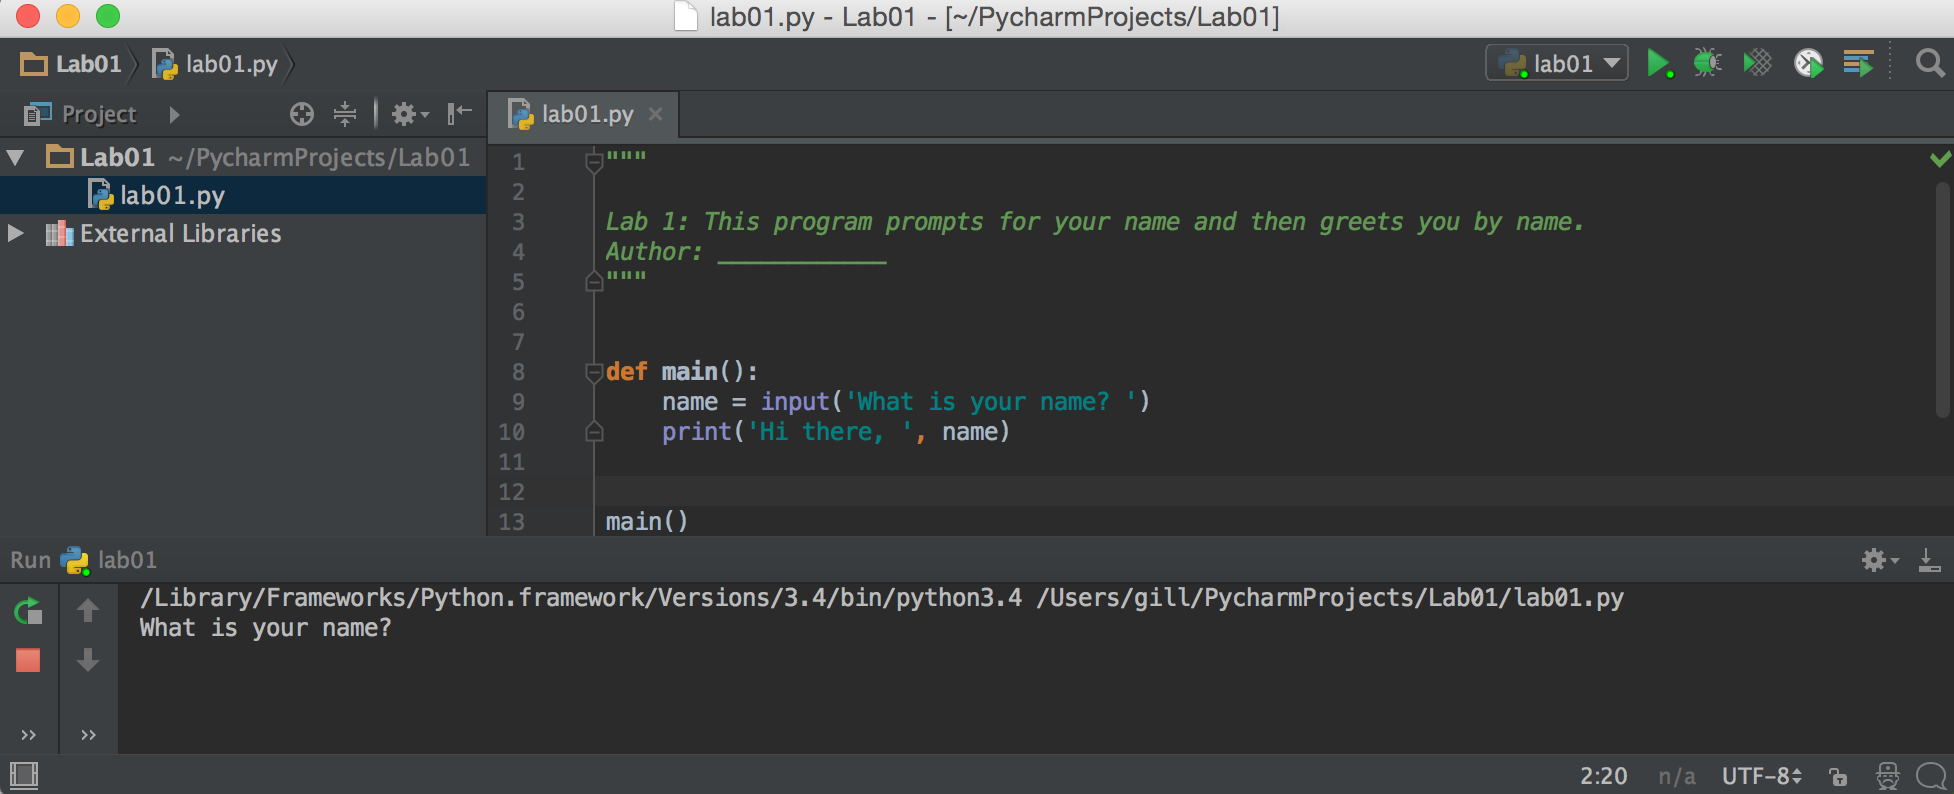
- Notice that the code-window splits and in the bottom window, the prompt appears. Put the mouse
in the bottom window and type your name
at the prompt and hit the return key.
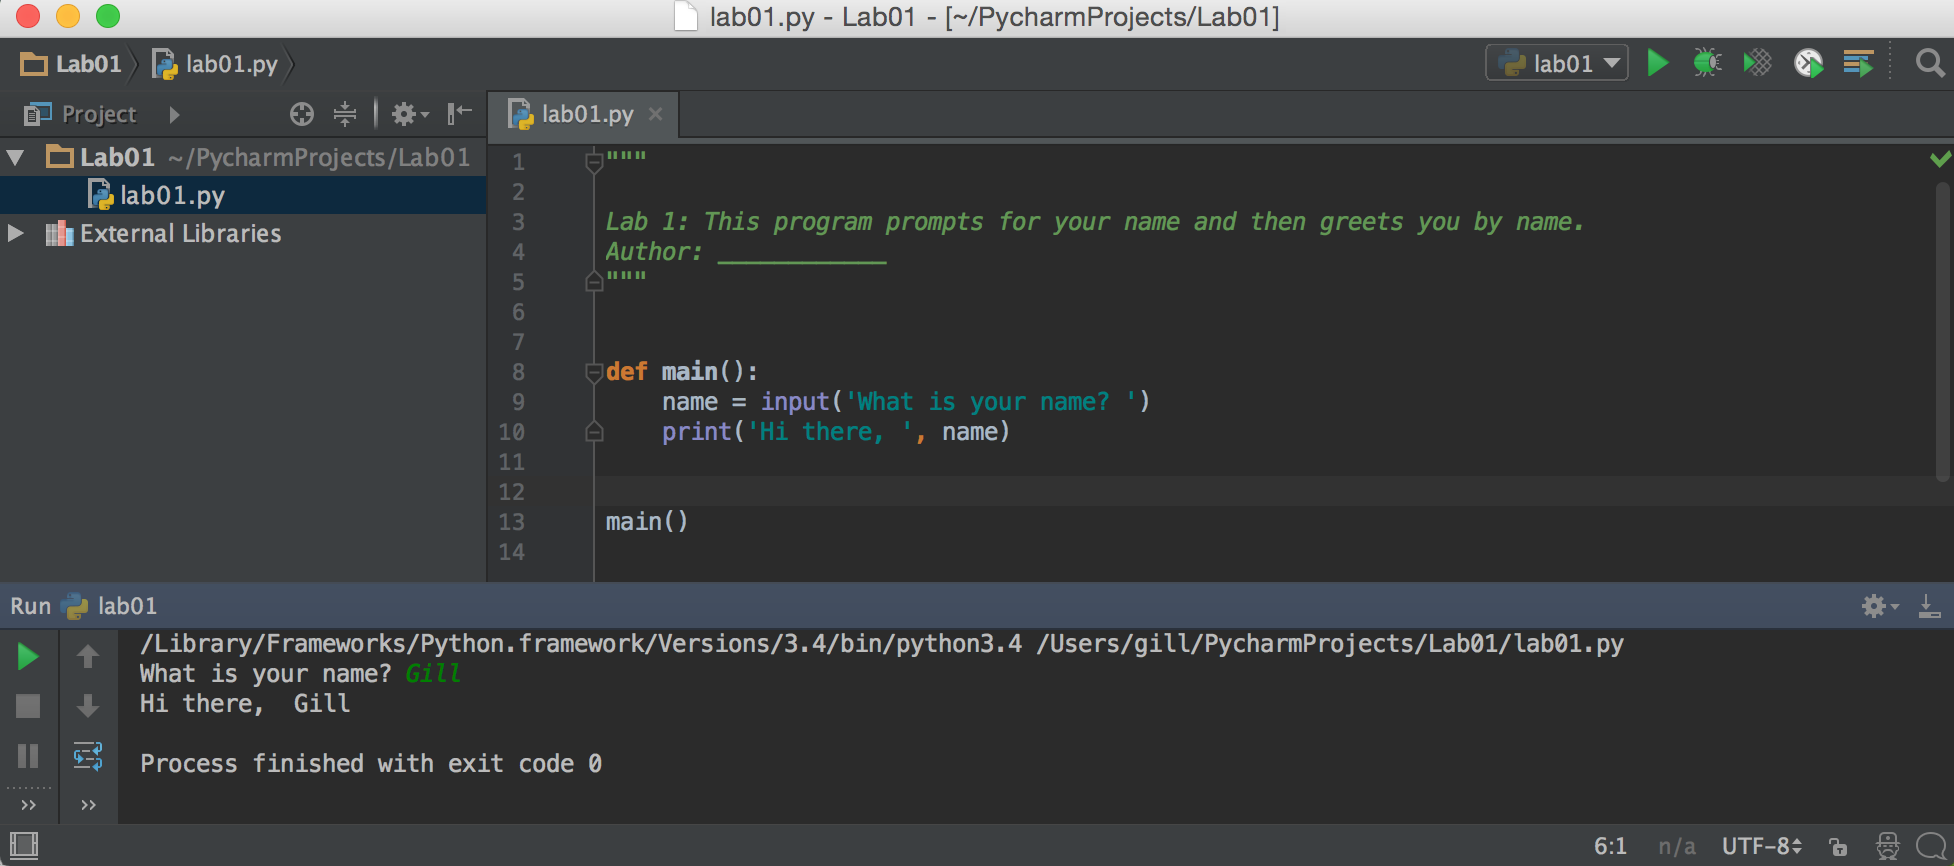
- To run it again, click on the green arrow on the top-right corner of the code-window.
The program that you just created is stored in cs115user/PycharmProjects/Lab01/lab01.py as
depicted below.
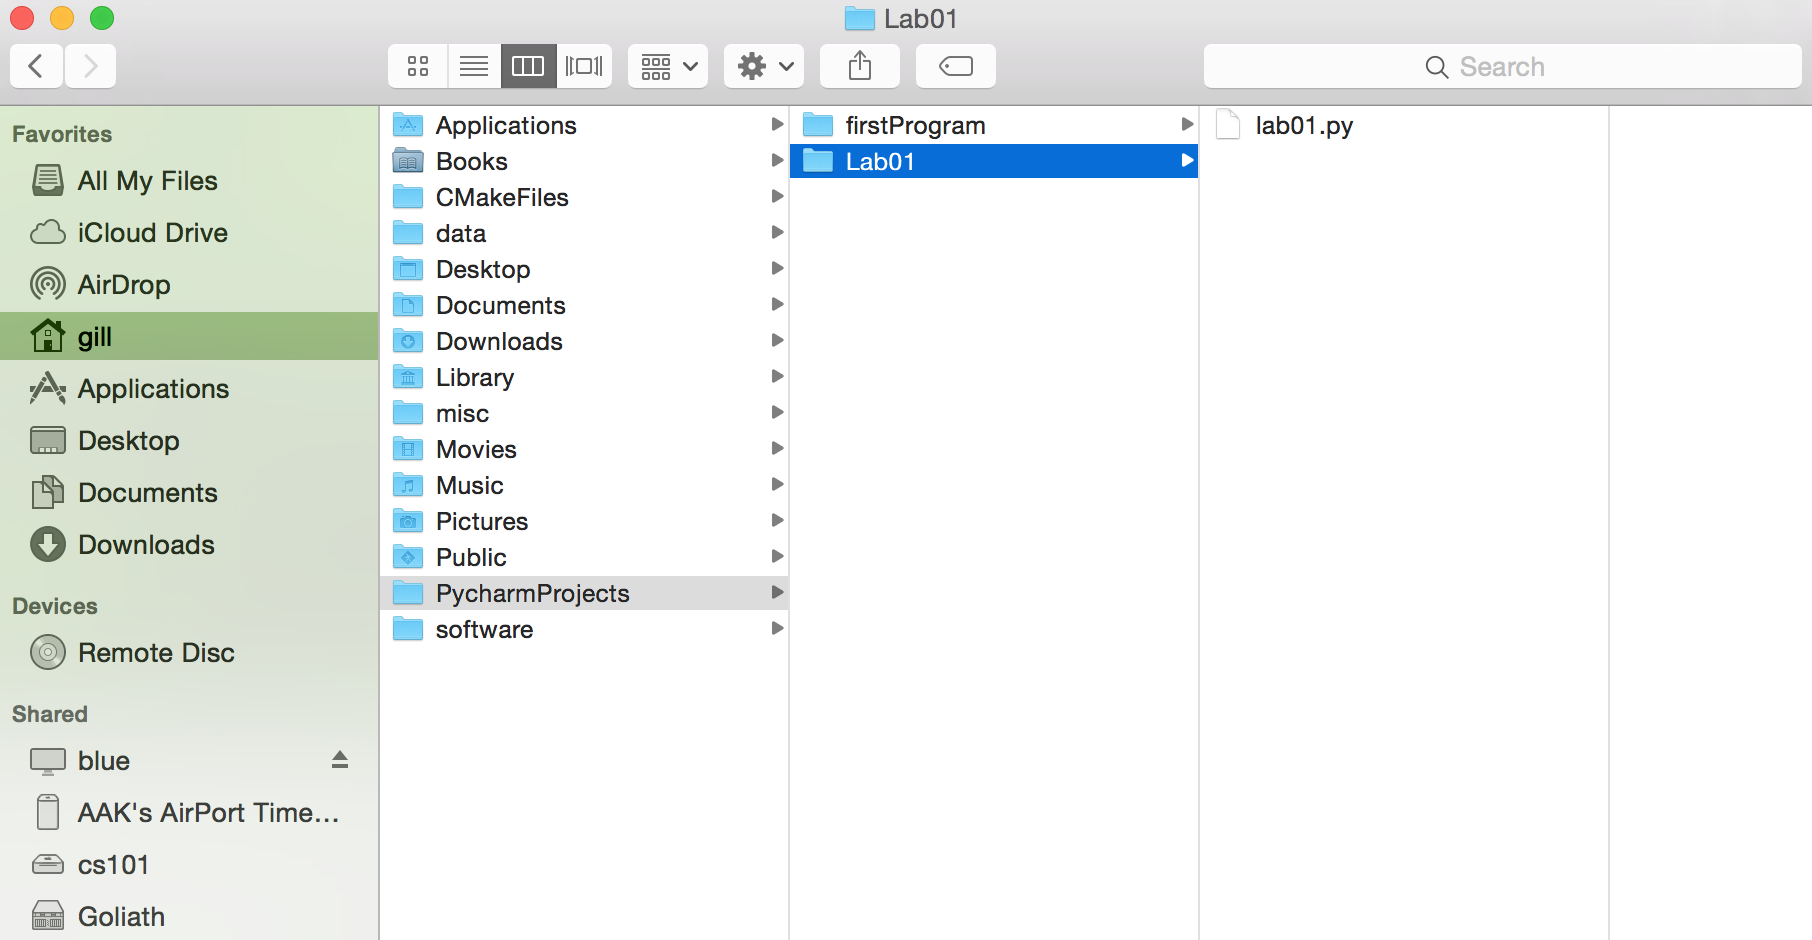
Please note that if you were to restart your machine, the Lab01 folder and lab01.py will be
deleted. So, you have a few option to preserve your work.
- Save it on a flash-drive. You are welcome to bring a flash-drive with you and, when you are
prompted to type-in the name of a project you can choose your flash-drive and create/copy the project
folder on it.
- Or save it on the CS Department's Linux server. It is called blue. In a future lab, you will
learn how to store your files on blue but for this lab you may consult your lab instructor to get help.
Continue to Part C.