Goals
In astronomy, people take pictures of any of the objects they can see - stars, planets, galaxies, Martians, etc. Unfortunately, due to the distance of these objects, the pictures will often be grainy and noisy. In order to compensate for this noise problem, photographers will sometimes take multiple pictures of the same object in quick succession and then process all the images for the object to create a final, noise-free image. This process is called image stacking. In this project, you will read some noisy images and implement the process of image stacking.
You will be practicing the following concepts from prior labs:
- drawing on Graphical window GraphWin objects
- lists and 2D lists
- writing functions from specifications
- writing new functions and their docstrings
Summary
The light from distance stars, nebula, and other objects in the sky is very dim when it finally arrives here on Earth. The Earth's atmosphere can affect image quality, and camera hardware has its own quirks. All of these add up to create noisy images. Image Stacking is a simple algorithm to overcome these issues and create good output from not-so-good input.
The trick to making image stacking work is to capture multiple photos of one object. Because of all the issues mentioned above, all of these photos will be noisy. It turns out that the noise can be removed by averaging all the noisy images into one final high-quality image. Below is an example of a simulated noisy image, and the result of stacking/averaging 10 simulated noisy images. In this project, the noisy images were procured from Dr. John Nicholson, Austin Peay State University, Clarksville, TN, who added noise on original images downloaded from NASA's Hubble Gallery.
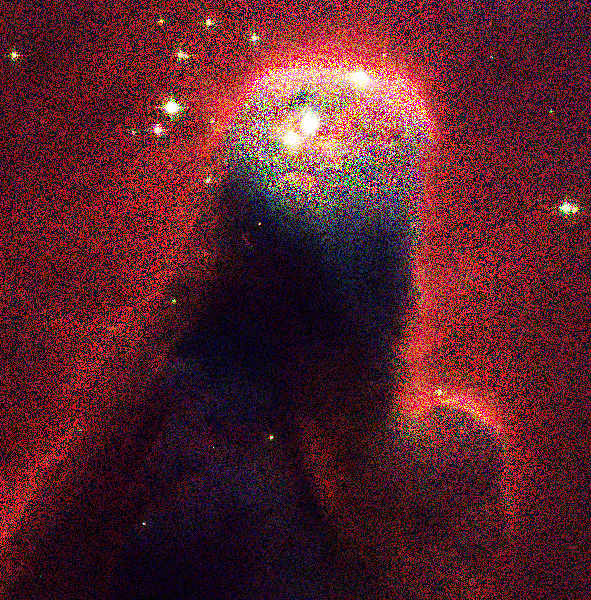
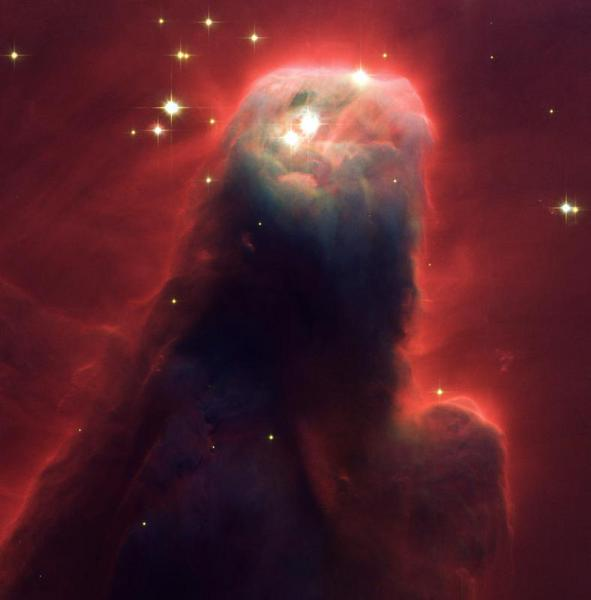
How it works: An image is basically a big two-dimensional list. We can think of each pixel in an image having an (x, y) coordinate. Suppose we have N noisy images, all with the same height and width. Then each image i, where 1 <= i <= N, has the same set of pixel coordinates. Since all our input images have the same coordinates, we can go through them pixel-by-pixel and we can access the same pixel in each image.
What we are tying to do is to calculate the color values for all the pixels in our good image G. The idea is that we go through the noisy images, one pixel at a time. In each image we read the value for the pixel at the same coordinate in all the images, and add them up. Once all the values for that coordinate are read, we calculate the average value. The result is the value for the pixel in the good image. Mathematically, we can say:

Of course, there is one additional element. Each pixel has three values: one for red, one for green, and one for blue. That means for each pixel we have to calculate three averages.
Before you start coding, you should read the Image
documentation and contents of the Image class
provided in graphics.py. Read the description of these functions very, very carefully
and ask questions early -- understanding what these
methods do will save you a lot of time.
Due Dates
- Checkpoint A: Due as a demo in any lab, drop-in tutoring or workshop before Tuesday, Nov. 20 at 8 PM.
- Checkpoint B: Due as a demo in any lab, drop-in tutoring or workshop before Thursday, Nov. 29 at 8 PM.
- Final Code: Due via Moodle on Thursday, Dec. 06 at 11:55 PM.
Template and files
Download the graphics package, a helper library, a template that holds some specifications for your project, and database of noisy images in a ZIP file. Note to windows users: Some students have reported difficulty with downloading the contents of the ZIP file. Here is an alternative Google Drive link to access these files. You must be signed with your Sonoma Credentials to access this link. Thereafter, right click on the folder p3 and select "Download".
- Note: you will only modify the template_P3.py file. The template contains functions and specifications for functions you will implement. The functions each have docstrings written for you holding the function specifications. Your implementation of the function should match the specifications provided in this template.
Checkpoint A
The template file reads the first image from a directory of noisy images and creates anImage object. The anchor of this Image object has been carefully set so that it can be correctly displayed. For Checkpoint A, you will perform the following operations:
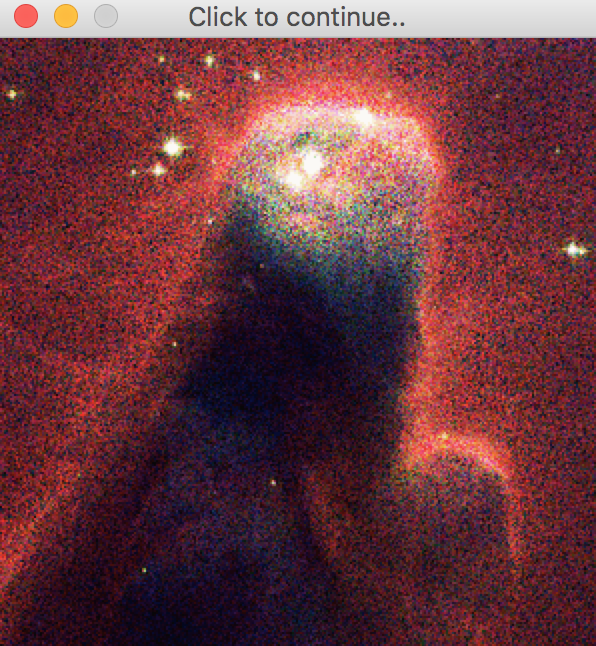
- Display the image in a graphical window, with Title "Click to continue..". For this purpose:
- Create a
GraphWinobject instance of the same size as that of image. - Use the
drawmember function ofImageclass to draw the image.
- Create a
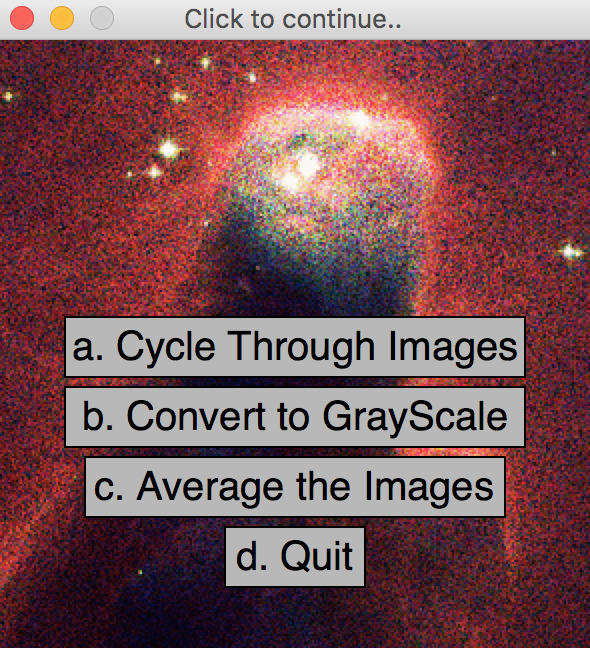
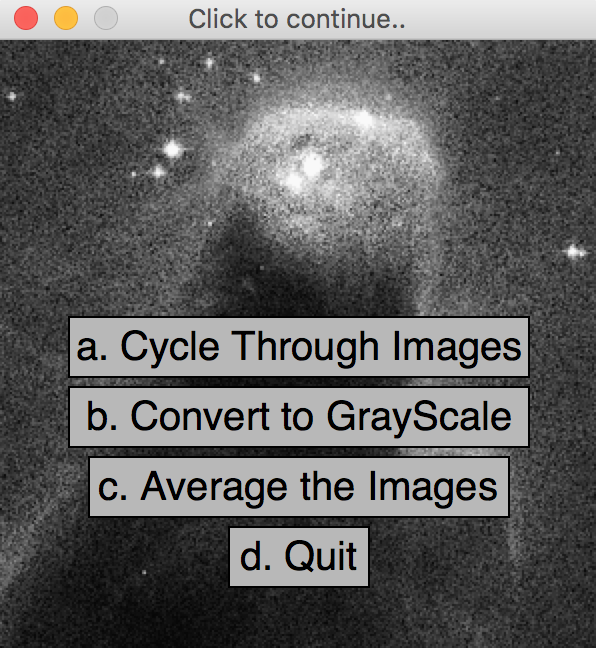
- Upon a single mouse click, display the button menu (below) on top of the image:
- For this purpose, implement the function
draw_menuaccording to the following docstring:'''Creates and draws a menu of buttons. Args: win (GraphWin): The window where buttons will be drawn. Returns: list: a list L, where L[i] is the i-th button (Rectangle object). ''' - Look at the implementation of the
draw_buttonfunction in helper_graphics.py, to help you implement this new function. You may also call thedraw_buttonfunction several times to draw the menu. - Center the menu at one-half of the width and height of image.
- For this purpose, implement the function
- Based on where the user clicks, determine the choice that the user selected.
- For this purpose, implement the function
wait_for_menuaccording to the following docstring:'''Waits for a click, detects the clicked button and returns its index. Args: win (GraphWin): The window where the user would click. buttons (list): A list, where buttons[i] is the i-th button (Rectangle object). Returns: int: a value between 0 and len(buttons)-1, indicating the index of the button that was clicked. ''' - Hint: Look at the implementation of the
wait_for_buttonfunction in helper_graphics.py, to help you implement this new function.
- For this purpose, implement the function
- To process the user's choice:
- Obtain the button that was clicked using the index returned from the function
wait_for_menu. - If the choices are (b), (c) or (d), simply print a statement indicating that that option was selected.
- Wait for the user to click anywhere in the window, and then close the window.
- Obtain the button that was clicked using the index returned from the function
- If choice (a) is chosen, cycle through all noisy images in the directory
dirnamethat are stored in the listfile_list(see template file), one by one. - Put the logic for this button into a function called
def cycleThrough(win, dirname, file_list)that creates anImageobject for each noisy image and displays it in the graphical windowwin, and write a docstring for it. Call this function when its button is clicked. The logic for the button should: - Read each image in directory, create an
Imageinstance, set its anchor correctly and display the image. - Wait for the user to click anywhere in the window before displaying the next image.
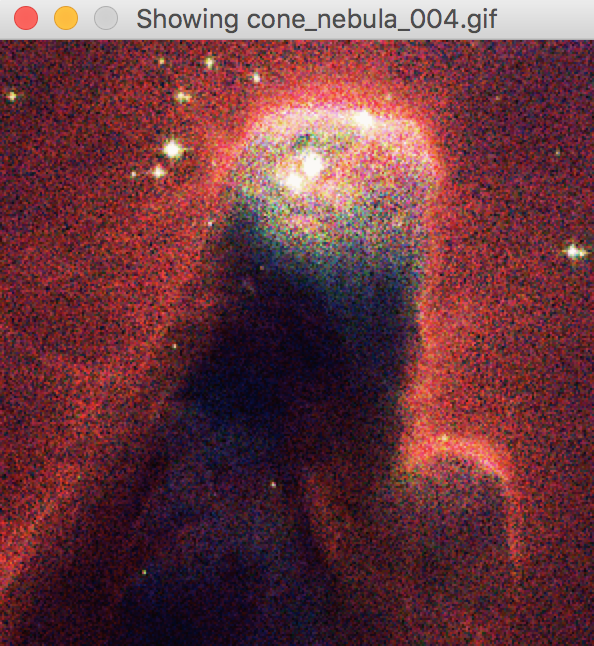
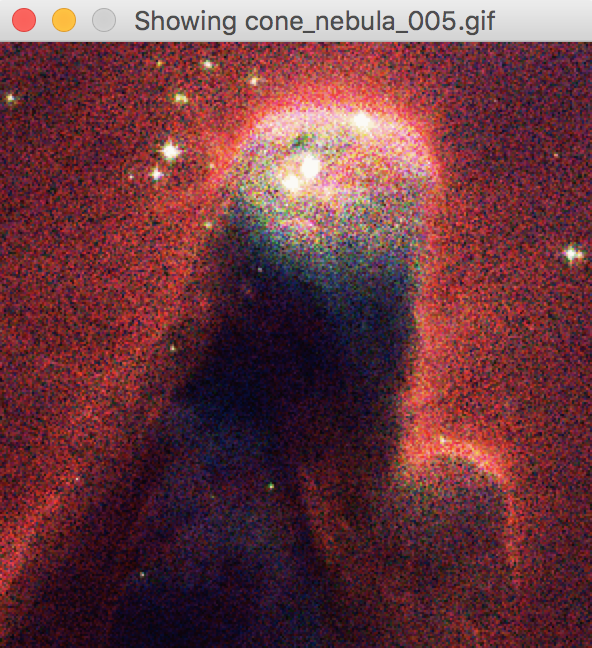
- Re-set the title of the graphical window to display the filename of the image. This can be done using the
setTitlemethod of theGraphWinobject. Two examples are shown below: - When all images have been shown, wait for the user to click anywhere in the window, and then close the window.
- Demo. Demo Checkpoint A.
Advice and Hints
Warning: You must implement the functions as specified. Functions should not print anything, unless it is specified.
Checkpoint B
For Checkpoint B, you will keep showing the menu until the user clicks on "Quit". In addition, you will implement choice (b) from the menu: "Convert to GrayScale".- Continue showing the menu until the user clicks on choice (d) "Quit" button.
- If user clicks on choice (a), cycle through all images and then return to the menu. When the menu is shown, the title should be reset back to "Click to continue..".
- If user clicks on choice (b), convert the first image into "gray scale". A gray scale image is one that averages the red, green and blue color channels.
- Put the logic for this transformation into a function called
grayImage, and write a docstring for it. Call this function when its button is clicked. The function should apply the transformation to the image and return. - The logic for the transformation should do the following:
Loop over all of the pixels of the
Imageinstance. For each pixel, obtain the red, green, and blue values usinggetPixelmember function and compute their average. You may use the functionconvertToGrayfrom helper_graphics.py to compute the average. Use thesetPixelmember function to save each modified pixel into theImageobject. ThesetPixelmember function requires the color parameter to be a string: use thecolor_rgbfunction defined in graphics.py to generate that string.Example output:
- To show the gray scale image on Graphical Window, first use the
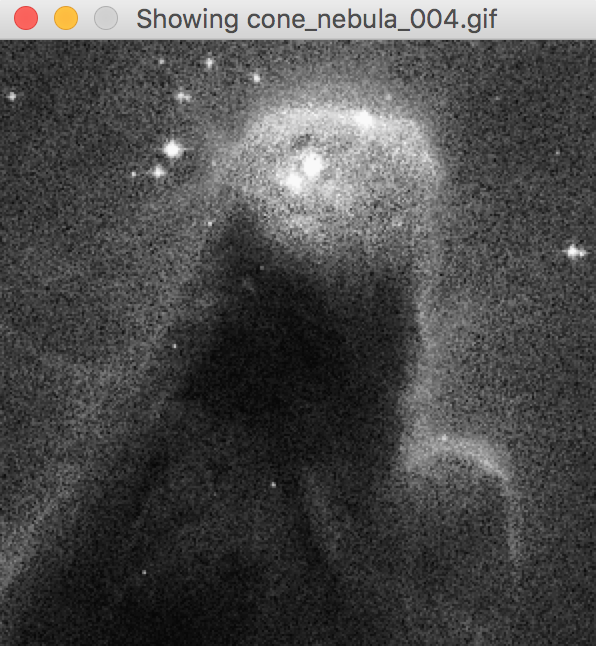
undrawmember function and thendrawit again on the windowwin. - If user clicks on choice (b) and then choice (a), cycle through all images but showing them in gray scale. This will require modifying the function
cycleThroughto accept a Boolean parameter indicating if images need to be shown in original color or in gray scale. Two examples are shown below: - If user clicks on choice (c), simply print a statement indicating that that option was selected, and keep showing the menu.
- Uncomment the line at beginning of the main function that prompts the user for the name of directory. Test your code on a different directory of noisy images; example: orion.
- Demo. Demo Checkpoint B.
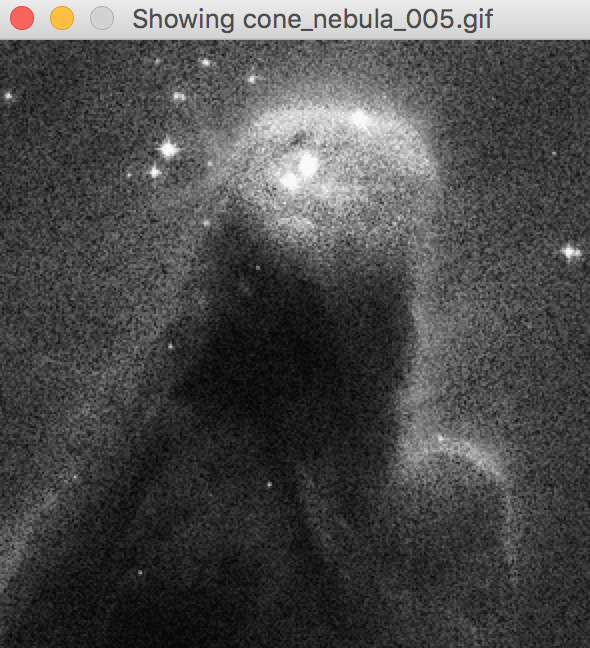
Advice and Hints
Warning: Note: The image library is pretty slow. Conversion to gray scale may take some time to run.
Troubleshooting: Upon selecting choice (b), image does not convert to gray scale: If the function grayImage is correctly implemented and called, you may need to undraw the image and then draw it again.
Final Code
In your final code, you will implement the menu choice: (c) Average the Images.
Average the Images
Average the noisy images by:
- Read each image in directory
dirname, create anImageinstance and sets its anchor correctly. - For each pixel, accumulate (sum up) corresponding RGB values (R i , G i , B i ) across all images (1 <= i <= N).
- Compute their average and save the modified pixels into an
Imageobject. - Write your logic into a function called
averageImages, write a docstring for it following our class conventions and call this function when its button is pressed.
Example output of stacked Orion:
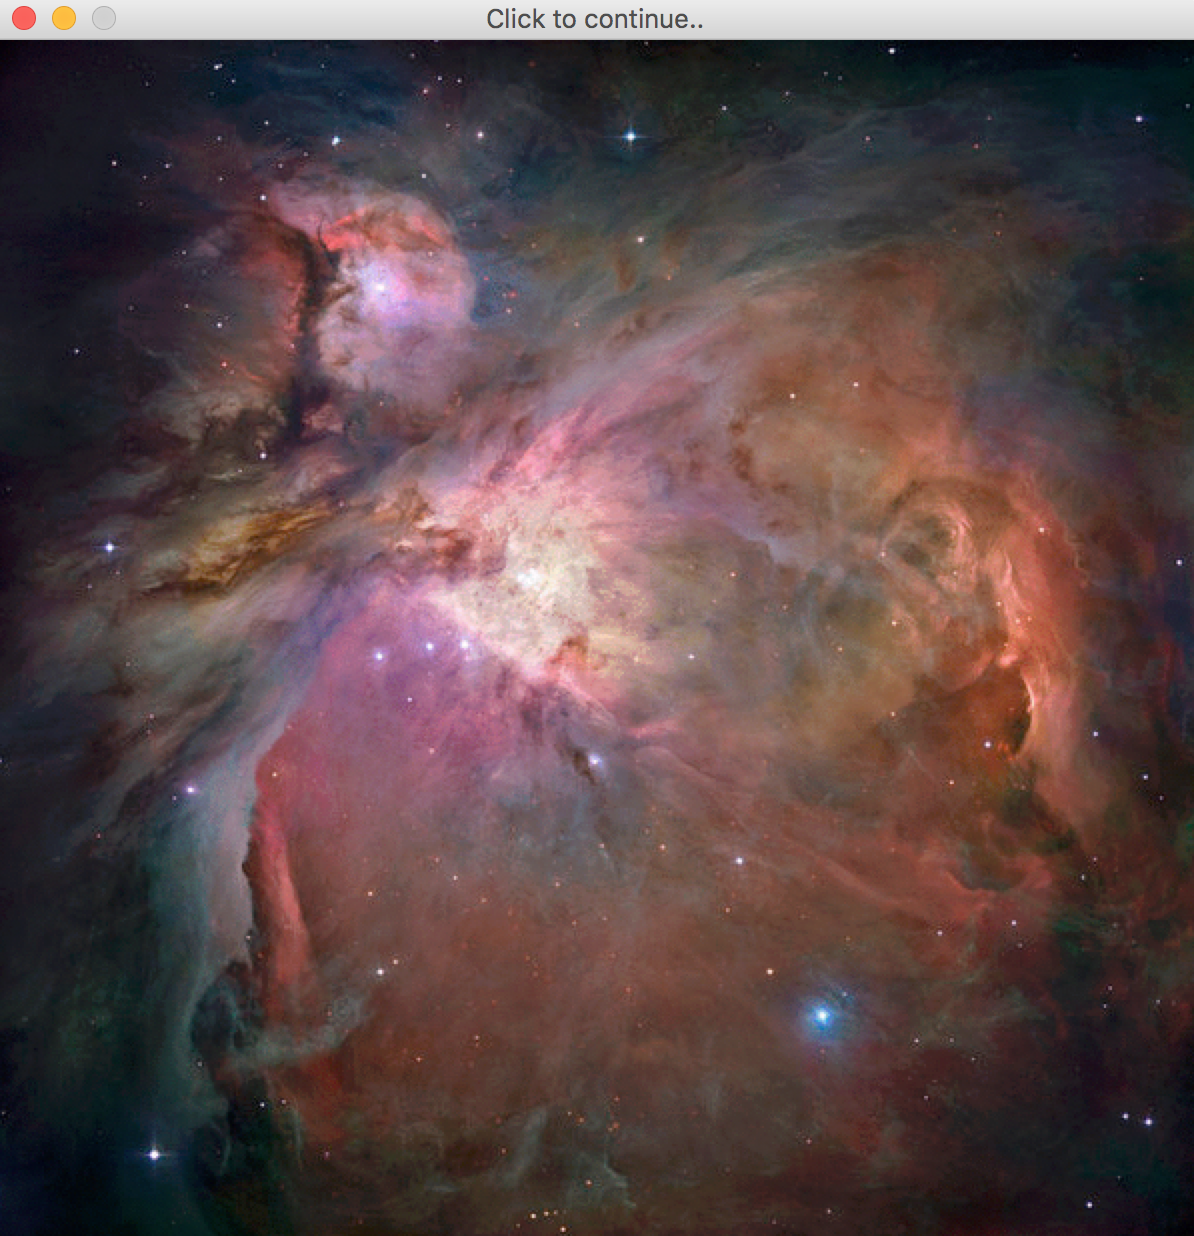
Example output of stacked Interstellar Bubble N44F:
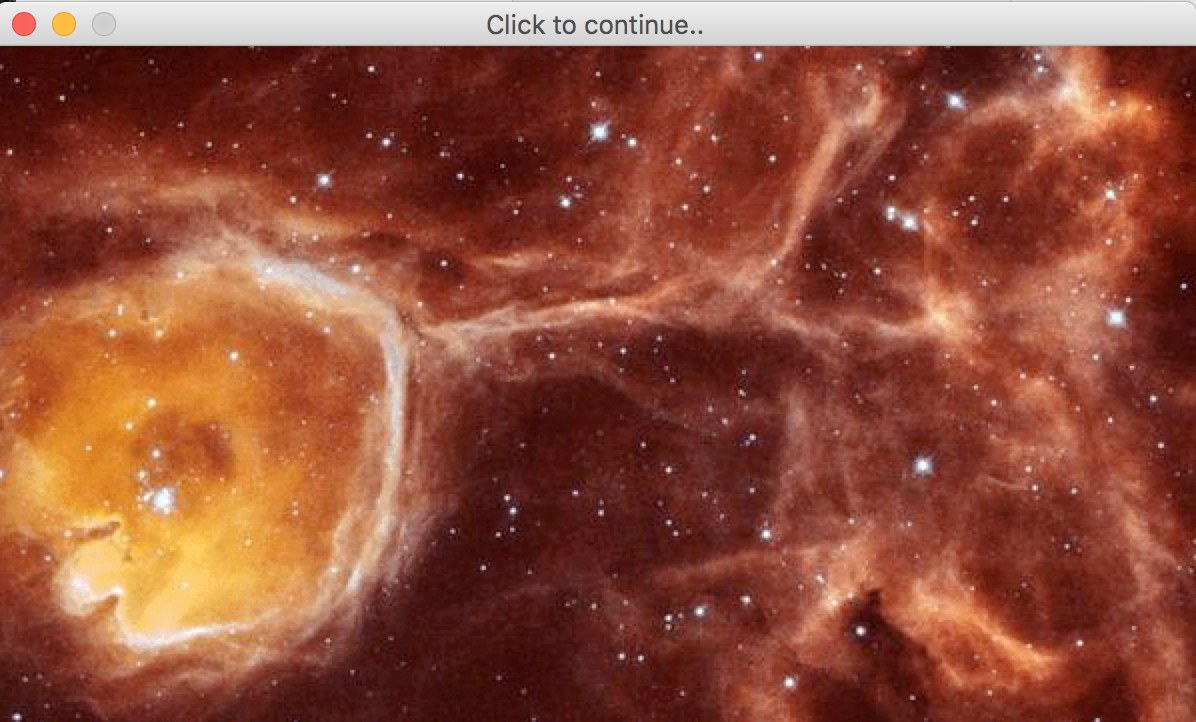
Example output of stacked nebula followed by a single click:
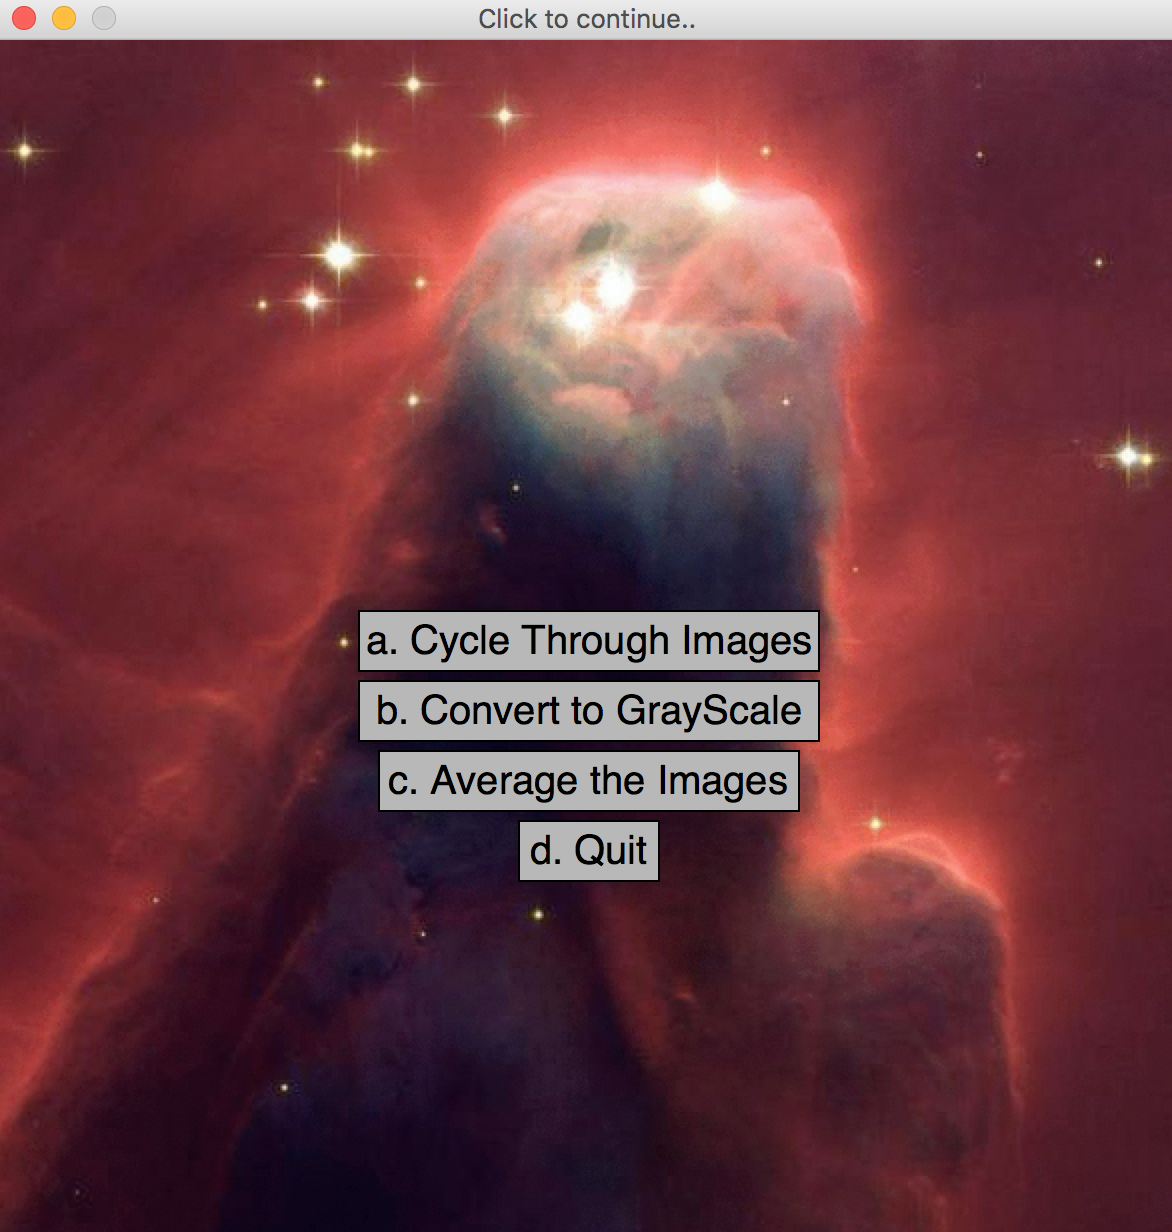
There is no demo for your final code.
Advice and Hints
Hint: To accumulate the RGB values, initialize a 2D list of the same size as the noisy images. You may initialize it with value of pixels in first image or simply by zeros for all three channels. Look at the Practice section of Lab 08 to get help in building 2D lists.
Warning: The image library is pretty slow. Averaging may take some time to run. Putting print commands in your code showing progress as images are accumulated is encouraged.
Grading Rubric
- Checkpoints [20%]
-
Each of the checkpoint demo is worth 10 points (all or nothing).
- Correctness [60%]
-
Your program will be tested numerous times, using different directories, to be sure that it meets the specification. You will not get full credit for this unless your output matches the desired output exactly for every case. For details, see the rubric below.
- Programming Design and Style [20%]
-
In addition to being correct, your program should be easy to understand and well documented. For details, see the rubric below.
Detailed Rubric
Correctness: functionality and specifications (60 points)
Your program will be tested on noisy images from a new directory.
| 5 pts. | Follows the display sequence correctly (Display image, followed by menu, followed by transformation depending upon the button clicked, and back to the menu until Quit is chosen.) |
| 10 pts. | Choice a: Cycling through images works |
| 5 pts. | Window title changes to show filename when cycling through the images and reverts back to "Click to continue.." when the menu is shown |
| 10 pts. | Choice b: Converting to grayscale works |
| 5 pts. | Clicking on choice b and then choice a cycles through images in gray scale |
| 15 pts. | Choice c: Averaging the images works |
| 7 pts. | Program must have student-written functions obeying above guidance. | 3 pts. | Functions are fully documented with a docstring confirming to our docstring conventions from class. |
Programming Design and Style (20 points)
- Docstring (3 points)
- There should be a docstring at the top of your submitted file with the following information:
0.5 pt. Your name (first and last) 0.5 pt. The course (CS 115) 0.5 pt. The assignment (e.g., Project 1) 1.5 pts. A brief description of what the program does - Documentation (3 points)
- Not counting the docstring, your program should contain at least three comments explaining aspects of your code that are potentially tricky for a person reading it to understand. You should assume that the person understands what Python syntax means but may not understand why you are doing what you are doing.
3 pts. You have at least 3 useful comments (1 point each) - Variables (3 points)
-
3 pts. Variables have helpful names that indicate what kind of information they contain. - Algorithm (3 points)
-
3 pts. Your algorithm is straightforward and easy to follow. - Dead code or misleading comments (5 points)
-
2 pts. Your final program should not contain dead code. Dead code is any old code that has been commented-out or otherwise been made permanently inactive, i.e., for the purposes of development or testing. 2 pts. Your program should not have irrelevant or misleading comments. This includes #TODOcomments that do not indicate things that still need to be done; if they been done then they should no longer be marked "TODO". This also includes comments you have added to the code or inherited from the template that do not describe the code any longer. - Program structure (3 points)
- All or nothing: your code should define a main function and then call that function, just like our programs do in the lab. Other than library imports, the docstring, and the final call to
main(), you should not have any stray code outside a function definition. - Catchall
- For students using language features that were not covered in class, up to 5 points may be taken off if the principles of programming style are not adhered to when using these features. If you have any questions about what this means, then ask.
Submission
You should submit your final code on Moodle by the deadline. I strongly encourage you to take precautions to make and manage backups while you work on your project, in case something goes wrong either while working or with your submission to Moodle.
Name the file you submit to Moodle yourlastnameP3.py, substituting your actual last name (in lowercase) for yourlastname.
Late Policies
Project late policies are outlined in the course policies page.
Collaboration Policy
Programming projects must be your own work, and academic misconduct is taken very seriously. You may discuss ideas and approaches with other students and the course staff, but you should work out all details and write up all solutions on your own. The following actions will be penalized as academic dishonesty:
- Copying part or all of another student's assignment
- Copying old or published solutions
- Looking at another student's code or discussing it in great detail. You will be penalized if your program matches another student's program too closely.
- Showing your code or describing your code in great detail to anyone other than the course staff or tutor.