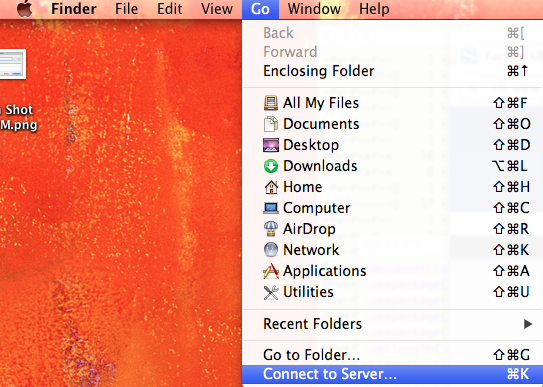
From the Finder's Go menu, select Connect to Server...
You will be presented with a window to enter the server address. Change the server address if necessary to match the following image.
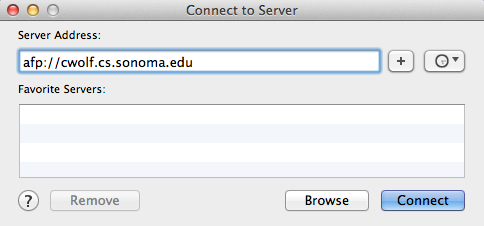
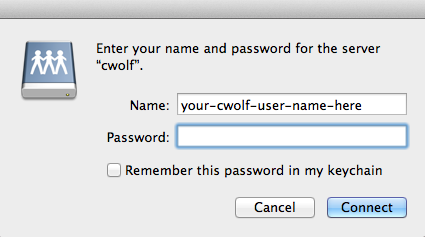
Click on Connect to get a prompt from cWolf to log in. Enter your cWolf login-name and password and then click on Connect.
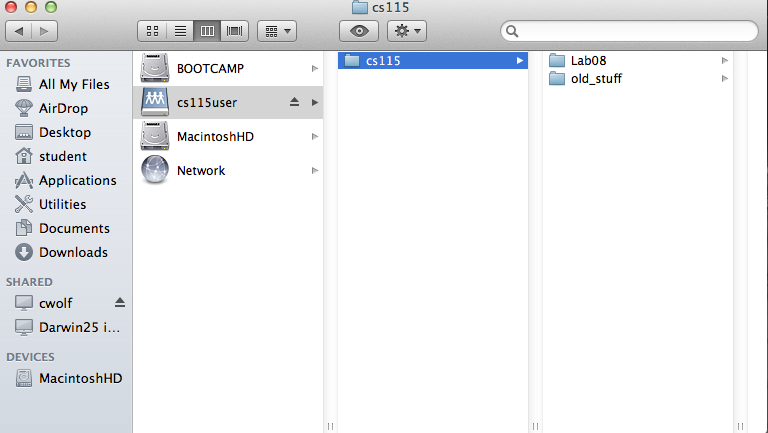
You should see your cWolf login-name here. Here, we have used cs115user, a student account that we use for testing, to log into cWolf. Notice that on the left menu, under SHARED, cwolf appear as a mounted disk. You can always click on it to get back to your cWolf home-directory.
Now, launch PyCharm.
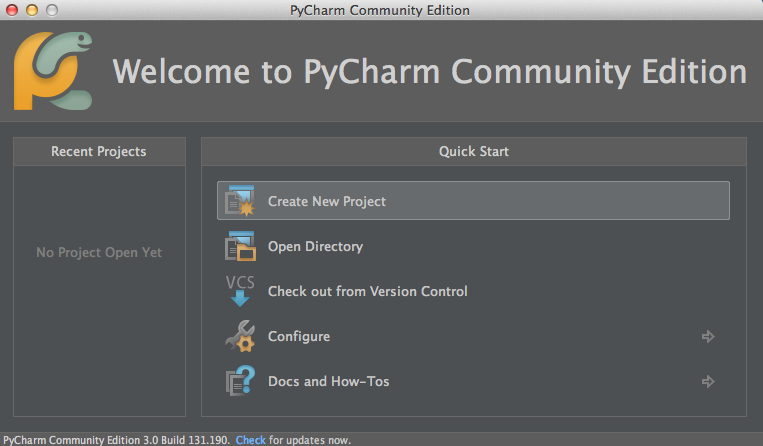
Click on Create New Project. Notice that the default is to create the project on the local machine. We do not want that. So, click on the three dots on the right side Location to select a directory through the Finder.

Here, we have selected Lab08 under cs115.

After having clicked Choose, we get the following. Click OK
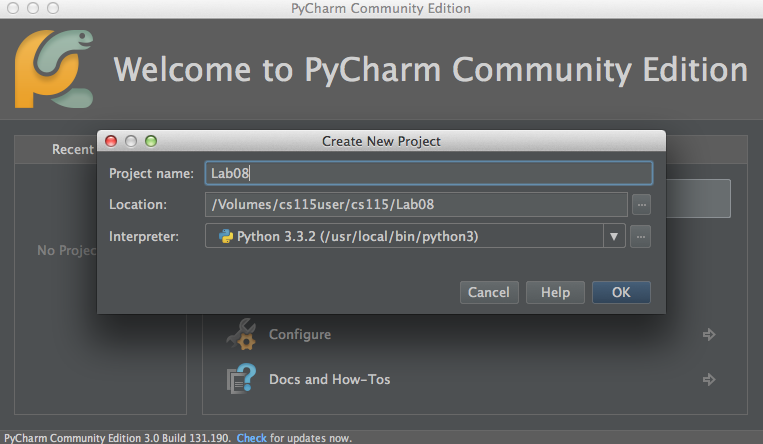
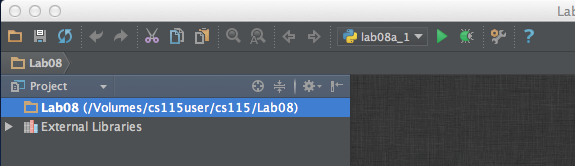
Notice that the path shows your cWolf directory that you selected.
Let's create a new file.
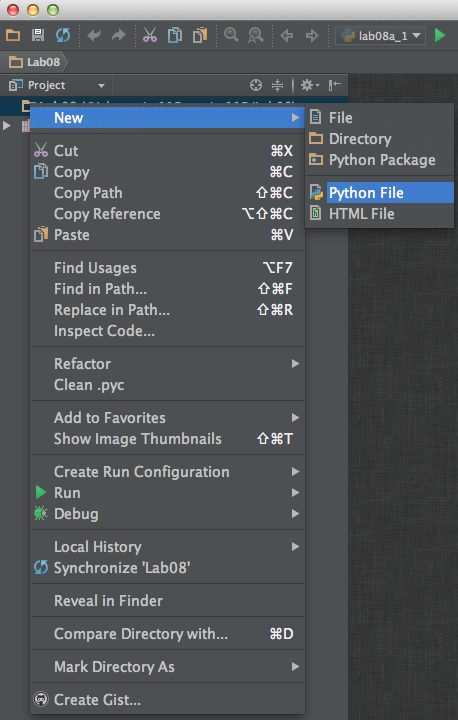
It looks just as if it were created on the local machine..

It would be helpful to get in the habit of pressing Command-S to save your file just before you run it.